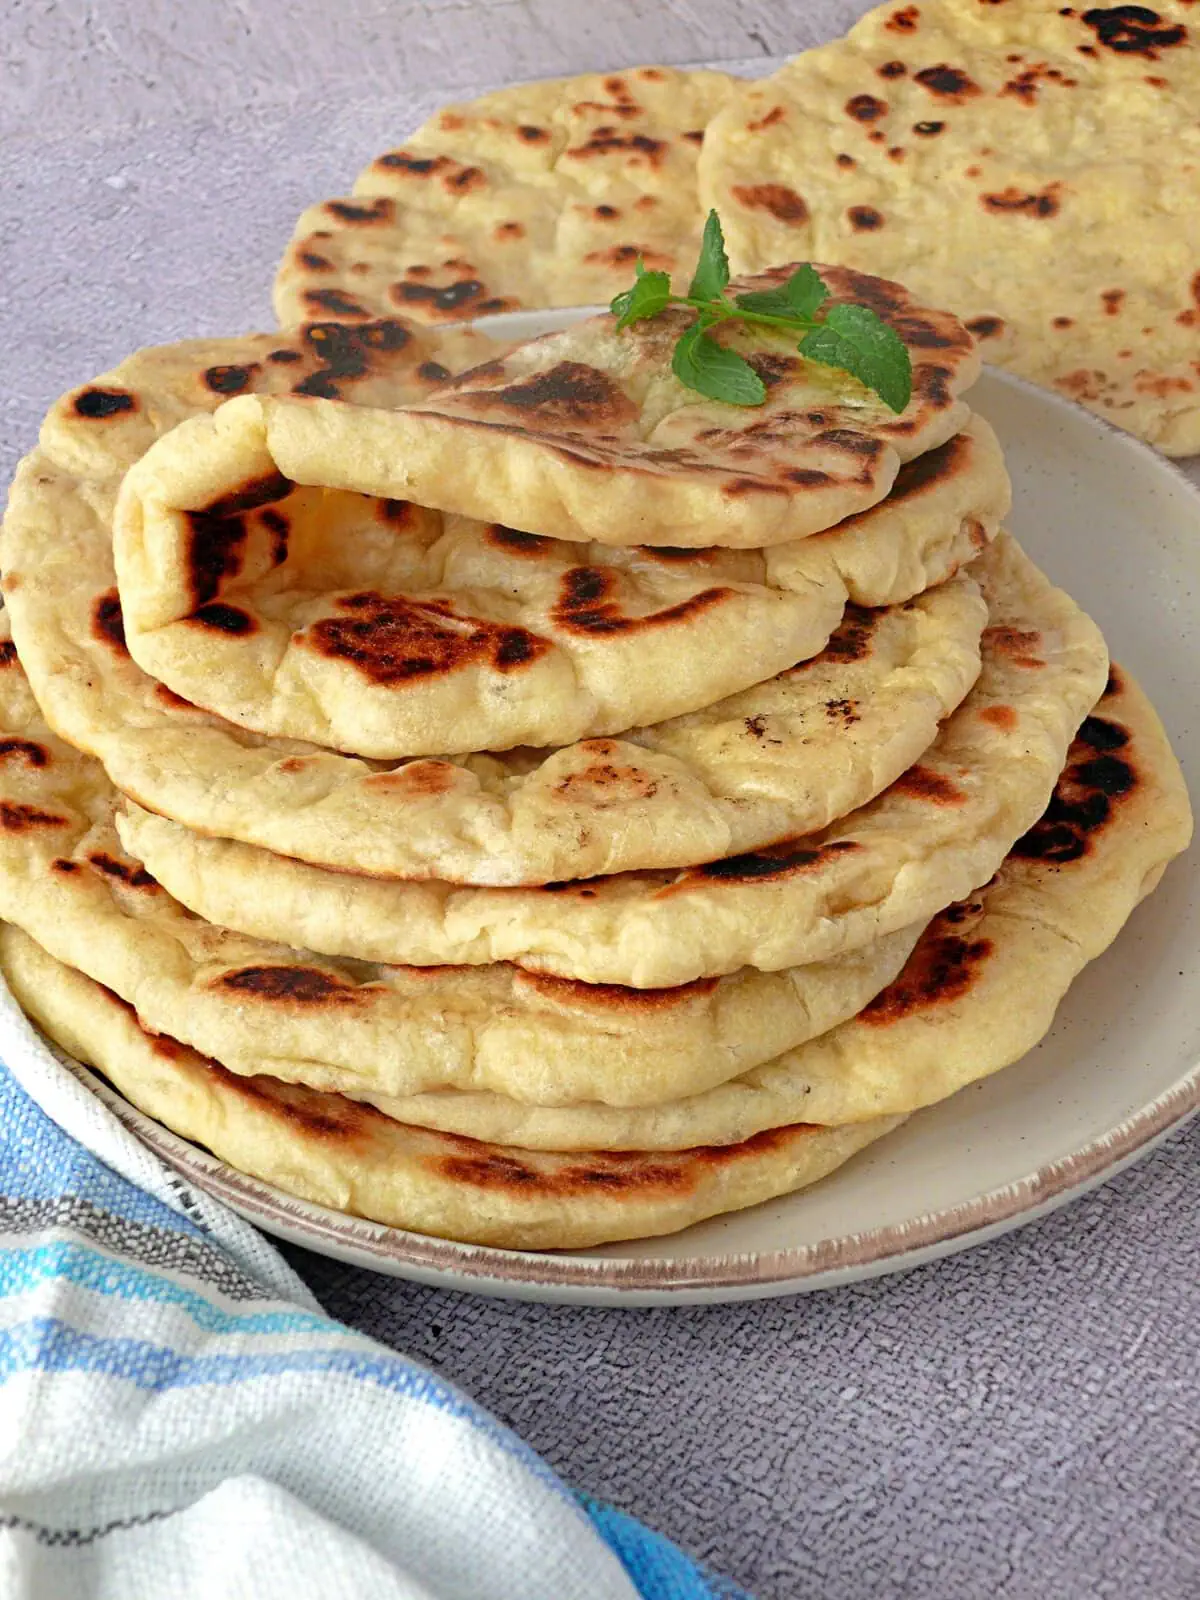
This Greek Style Pita Bread is soft, fluffy, lightly blistered with a wonderfully chewy texture that’s perfect for gyros, wrapping juicy souvlaki, scooping up creamy tzatziki, and serving alongside your favorite Greek dishes.
GREEK STYLE PITA BREAD
Part of the Taste of Greece Series
Most pita you’ve had probably has a pocket. This one doesn’t, and that’s exactly the point. Greek style pita bread is a flat bread in the truest sense: soft, slightly chewy, and cooked flat on the stovetop instead of puffed in a hot oven. It’s the bread you’ll find stacked next to chicken souvlaki and pork souvlaki all over Greece, torn by hand and used to scoop rather than stuff.
The dough itself is simple — bread flour, active dry yeast, warm water, olive oil, and salt — but the texture is what sets it apart. A short knead, two rises, and a few minutes in a hot pan give you a pita bread dough that’s tender enough to fold without cracking and sturdy enough to hold a scoop of tzatziki or a pile of gyro meat.
What Is Greek Style Pita Bread?
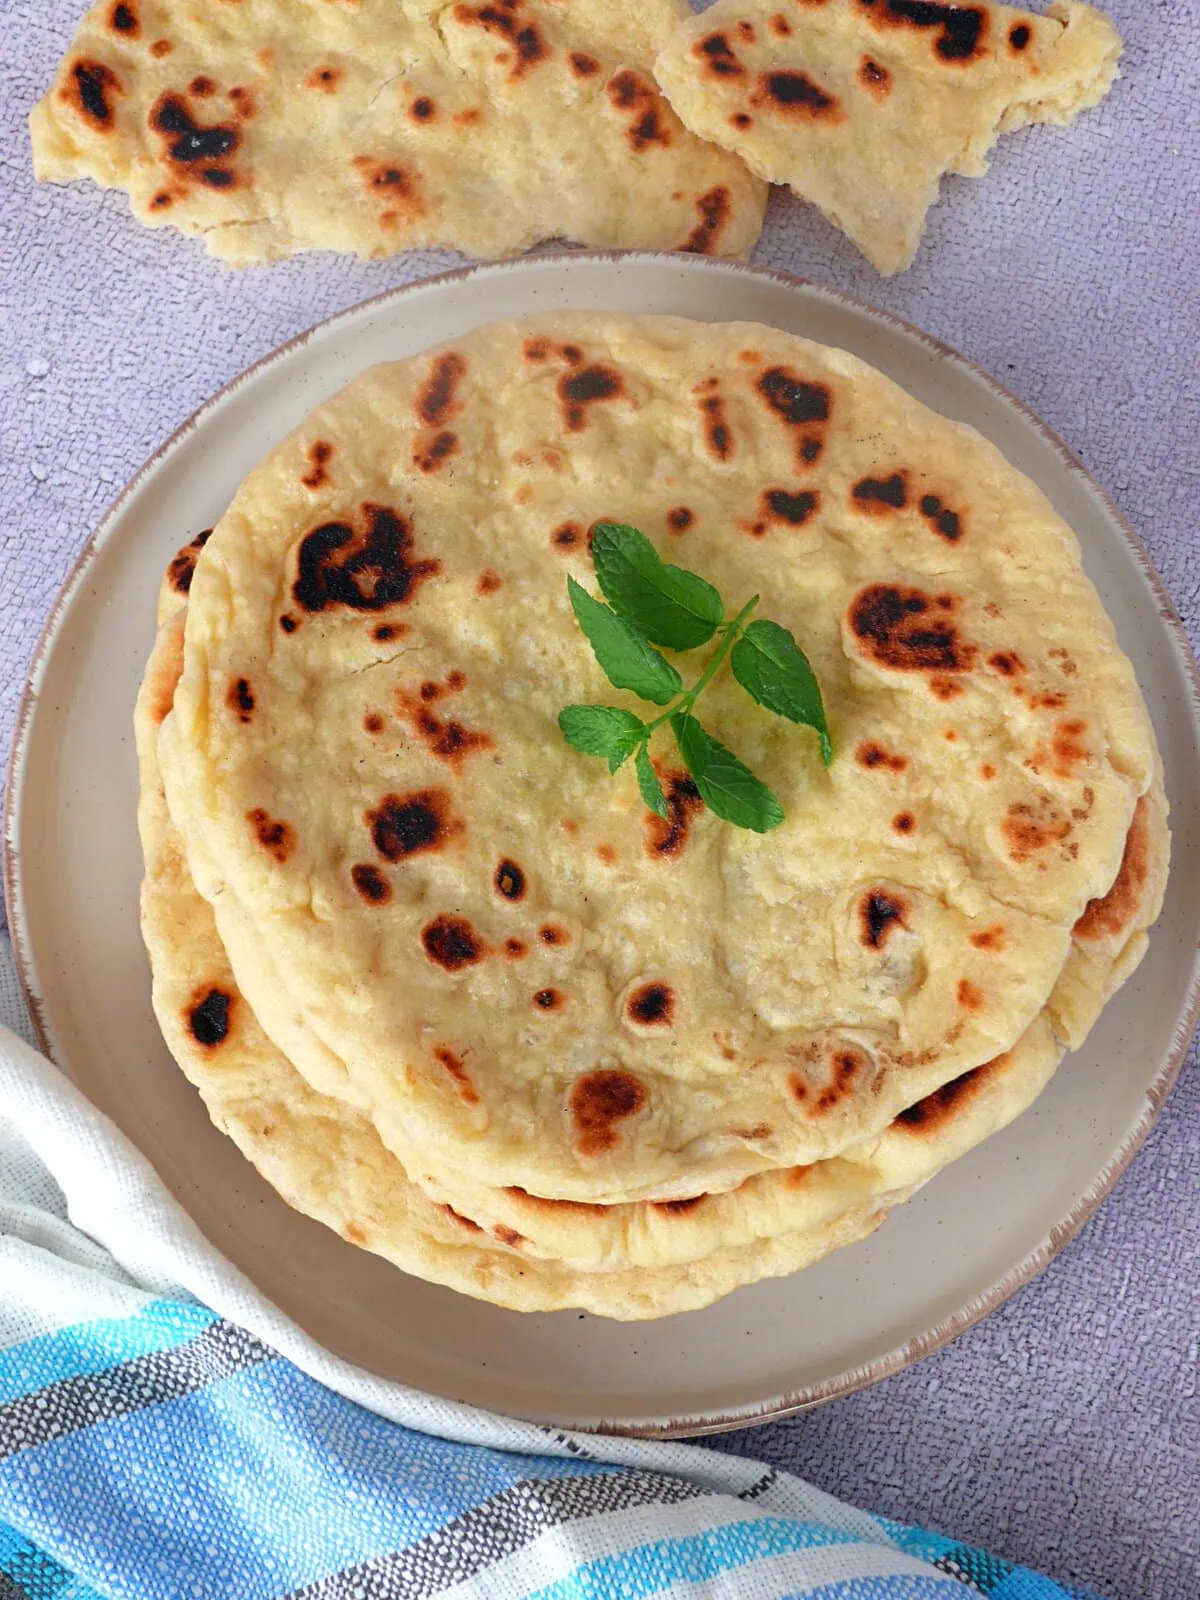
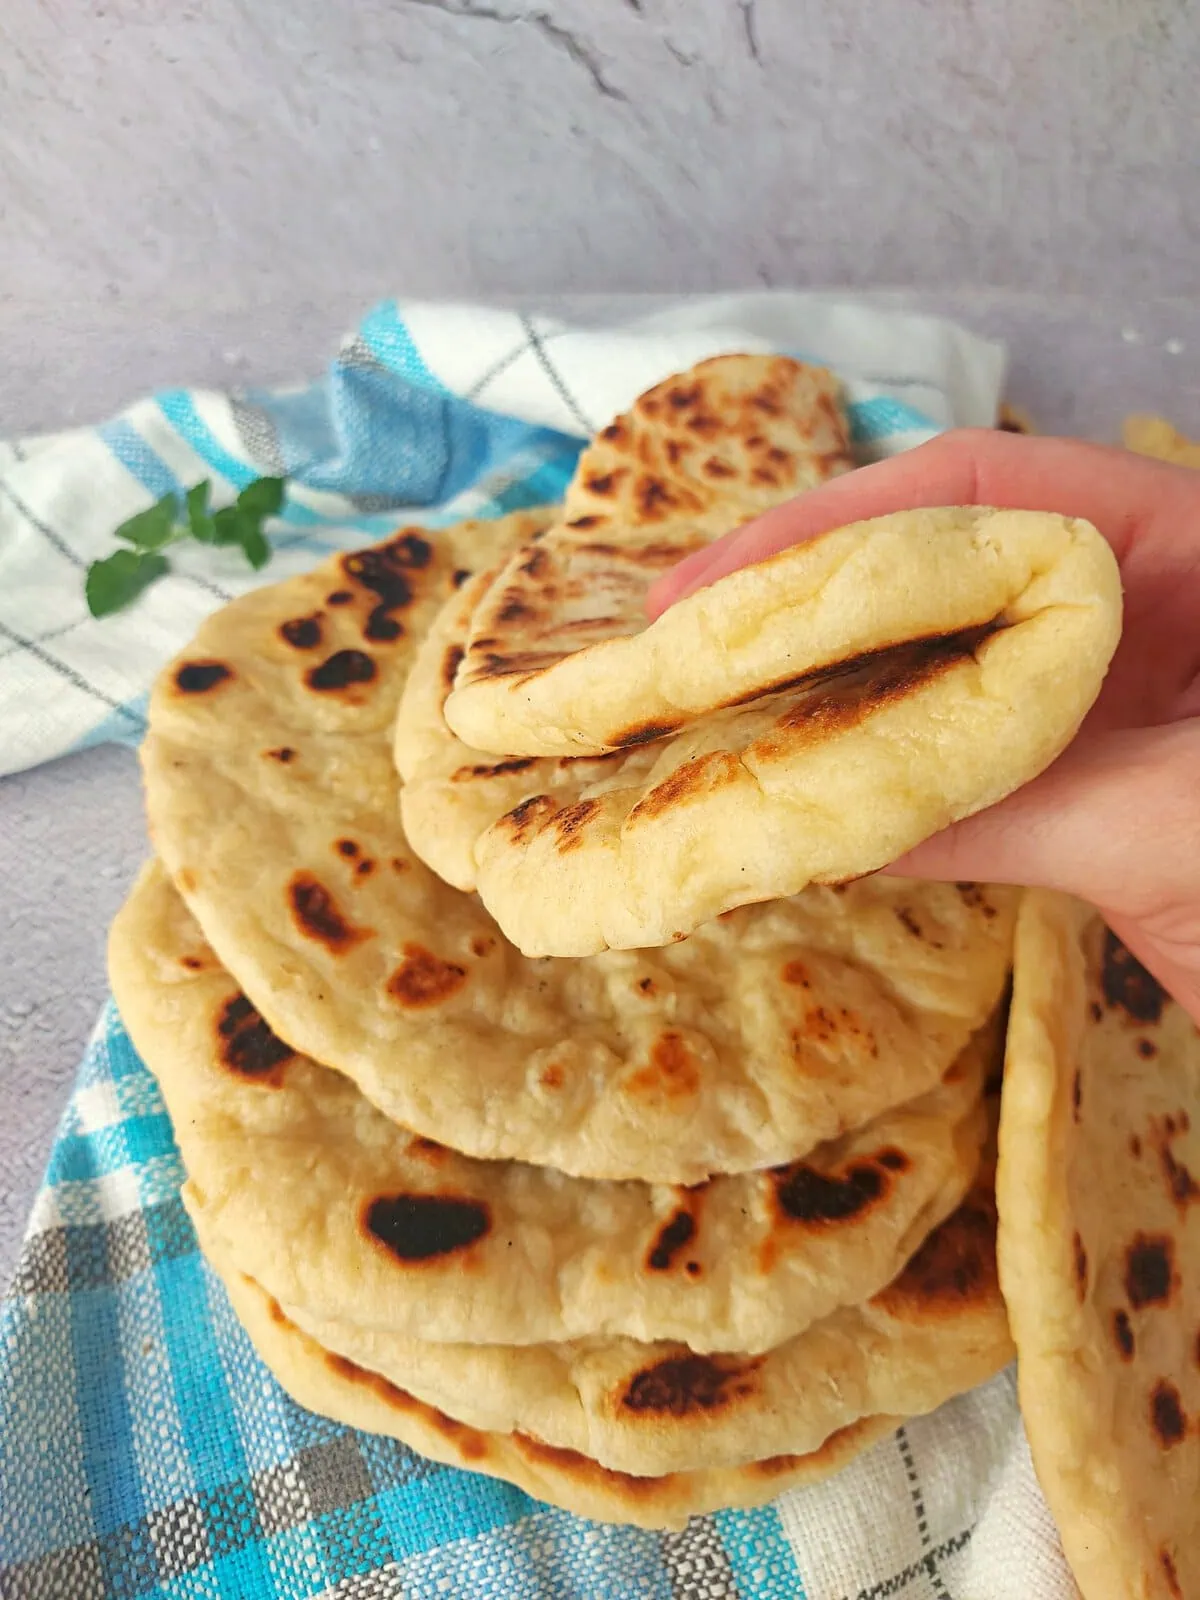
Greek Style Pita Bread is a soft, round flat bread traditionally served throughout Greece with grilled meats, fresh vegetables, dips, and salads. Unlike traditional pocket pita that’s baked at very high temperatures until it puffs, authentic Greek pita remains relatively flat with a tender, flexible texture that makes it perfect for wrapping fillings.
Its slightly chewy interior and lightly browned exterior make it sturdy enough to hold juicy meats without tearing, yet soft enough to fold around your favorite fillings.
You’ll often find it served with chicken gyros, chicken souvlaki, pork souvlaki, Greek meatballs, grilled halloumi, Greek salad, tzatziki, hummus, or whipped feta.
Greek Style Pita Bread at a Glance
Ingredients for This Greek Style Pita Bread
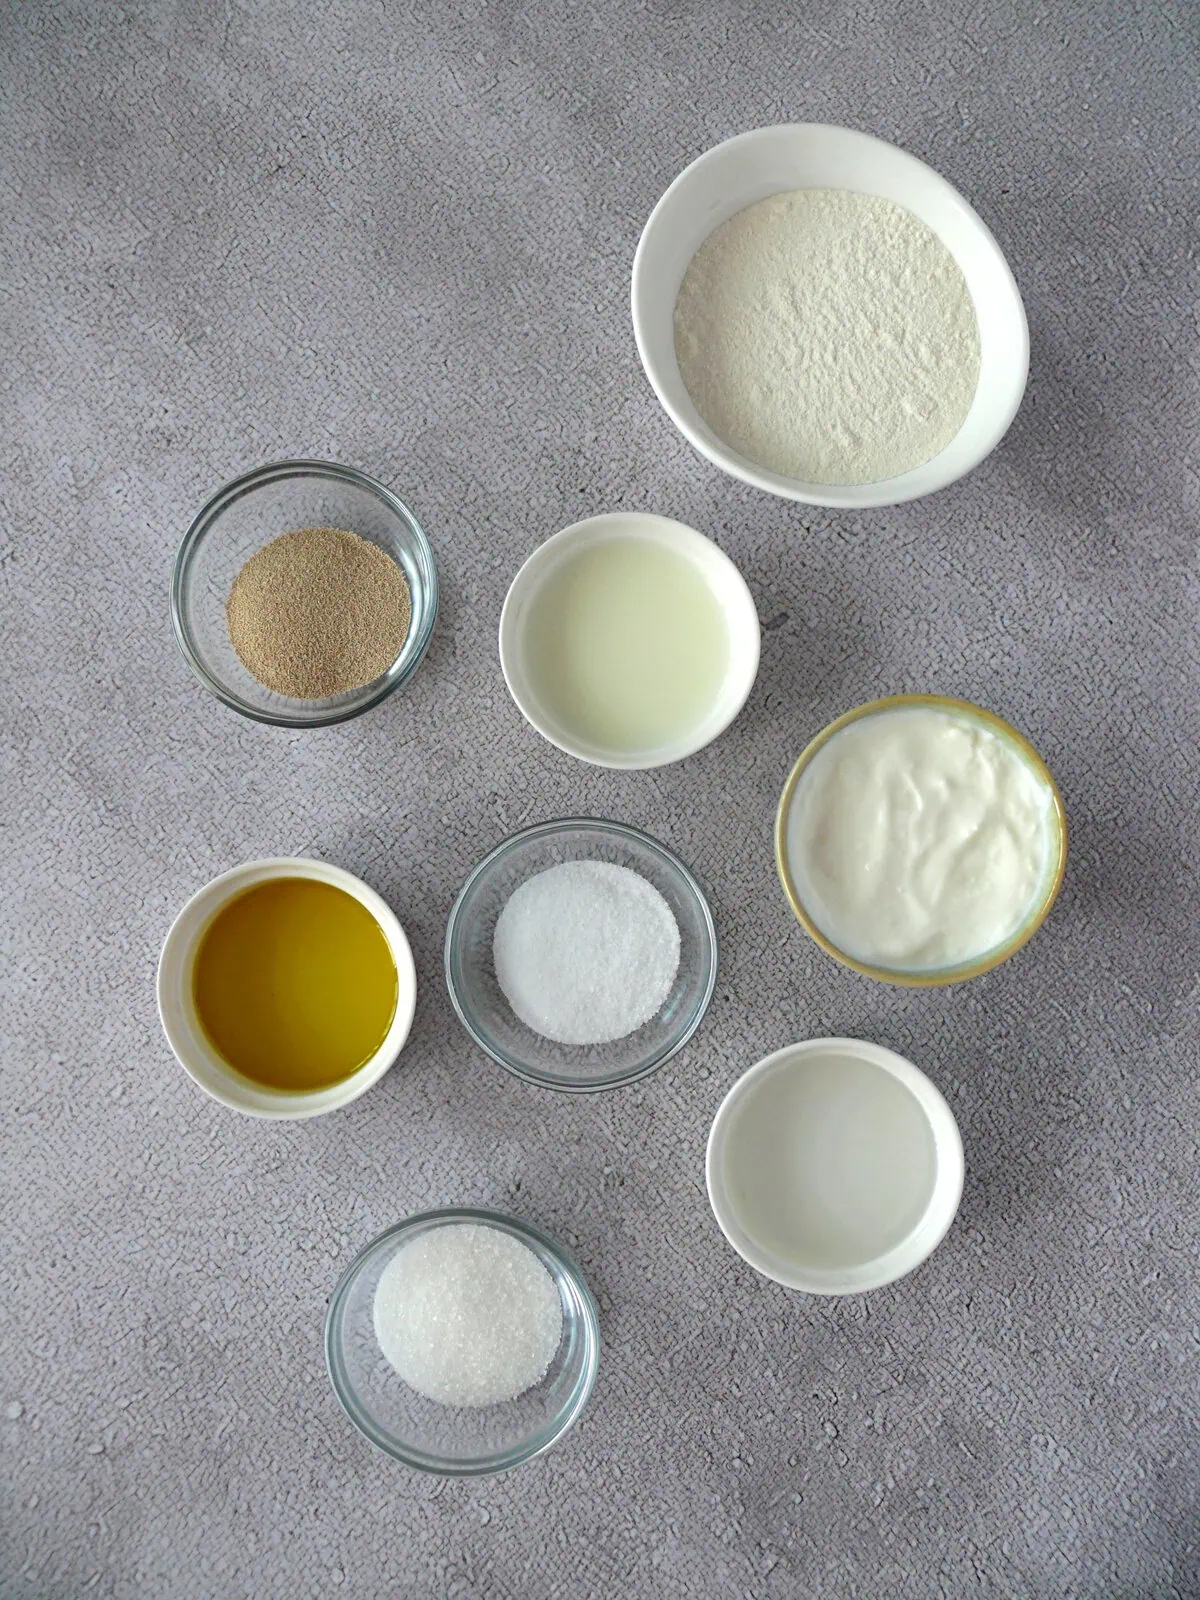
Bread Flour — gives a soft, chewy bite that’s characteristic of authentic Greek bread. You can swap in all-purpose flour; the pita will be a touch softer and less chewy, but still good.
Greek yogurt — creates a softer crumb and helps the pita stay tender even after cooling.
Olive oil — adds flavor while keeping the dough supple and easy to roll. Any neutral oil works if that’s what you have on hand.
Milk — adds richness and a softer crumb than water alone; whole milk gives the most tender result, but low-fat works too.
Active dry yeast — instant dry yeast works too; skip the foaming step and mix it straight into the flour.
Sugar — a small amount of sugar just feeds the yeast, doesn’t sweeten the dough.
Warm water — encourages proper yeast activity and helps the dough come together quickly. Too hot kills the yeast; too cold slows the rise.
Salt – never add salt directly on top of the yeast during mixing, as it can slow yeast activity.
Equipment
Stand mixer with dough hook (optional)
Kitchen scale (recommended)
Rolling pin (optional)
How to Make Greek Style Pita Bread
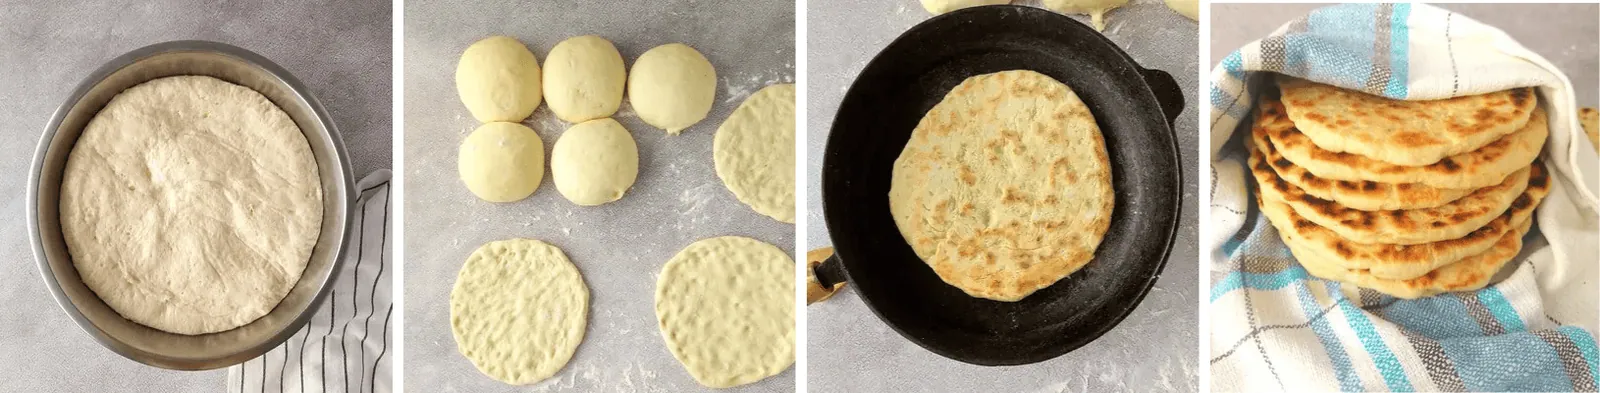
(To make this recipe as easy as possible, I’ve included step-by-step photos. For the exact measurements, full printable recipe, and details, see the recipe card at the end of this post.)
Step 1: Activate the Yeast
In a medium bowl, whisk together 1/2 cup flour, the sugar, warm milk, warm water, and dry yeast until smooth. Let it sit 8–10 minutes, until foamy on top.
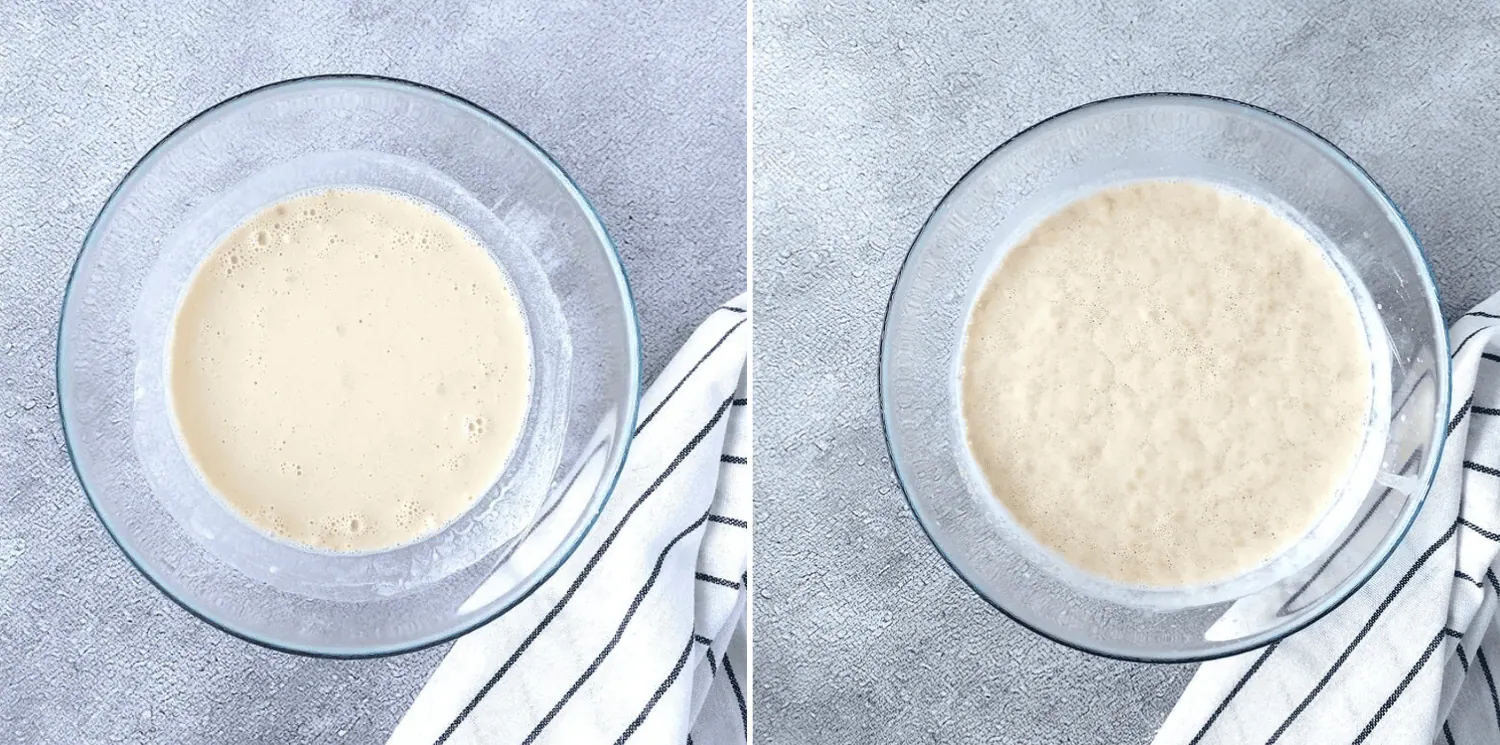
Step 2: Bring the dough together
In a separate large bowl, add the remaining bread flour, Greek yogurt, olive oil, salt, and the yeast mixture. Mix with a wooden spoon until a shaggy dough forms before kneading by hand or with the dough whisk attachment of a stand mixer. Then turn it out onto a clean work surface. If you’re using a bowl of a stand mixer, swap to the dough hook and mix on low speed for about 5 minutes instead of kneading by hand.
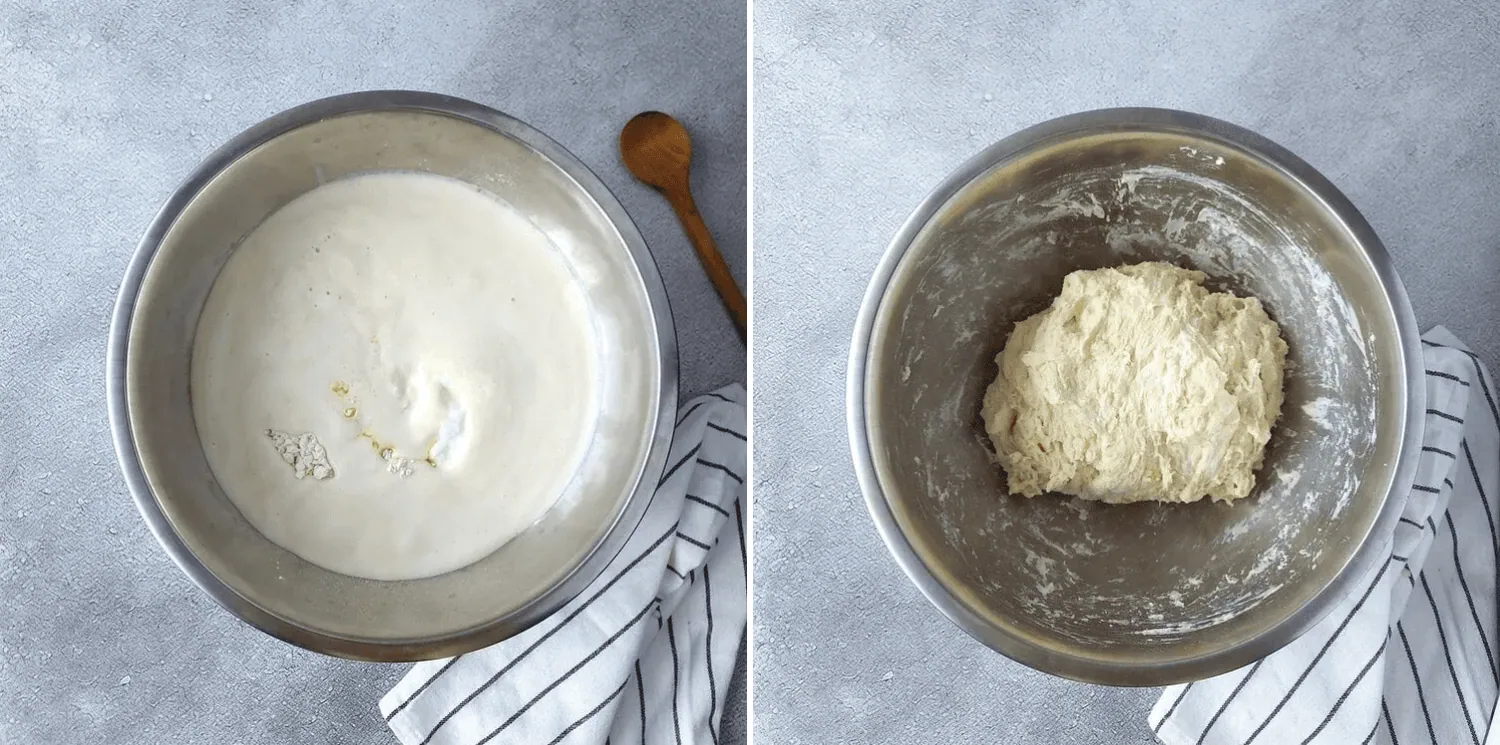
Step 3: Knead Until Smooth
Knead the dough for 6–8 minutes by hand, or 5 minutes in a stand mixer. Dust with extra flour only if it’s sticking to your palms, you want it soft and only slightly tacky, not dry.
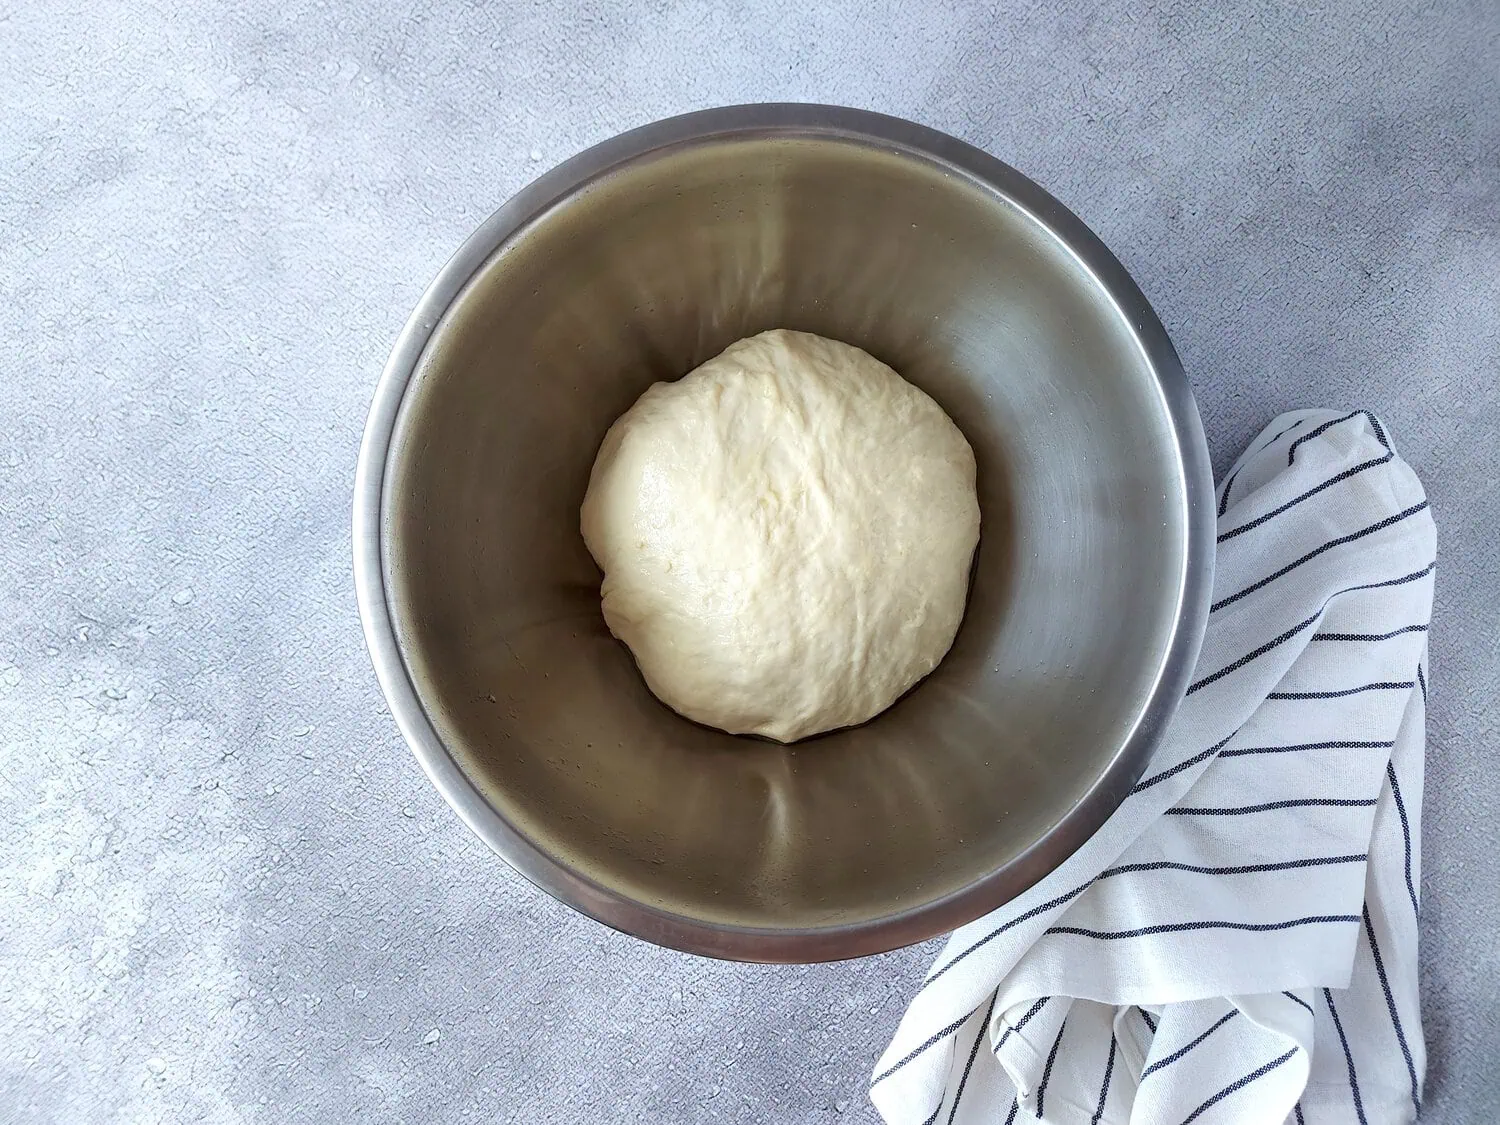
Step 4: First Rise
Coat the dough lightly with olive oil, place it into a lightly oiled bowl, cover with plastic wrap, and let it rise for 2 hours in a warm place until doubled in size.
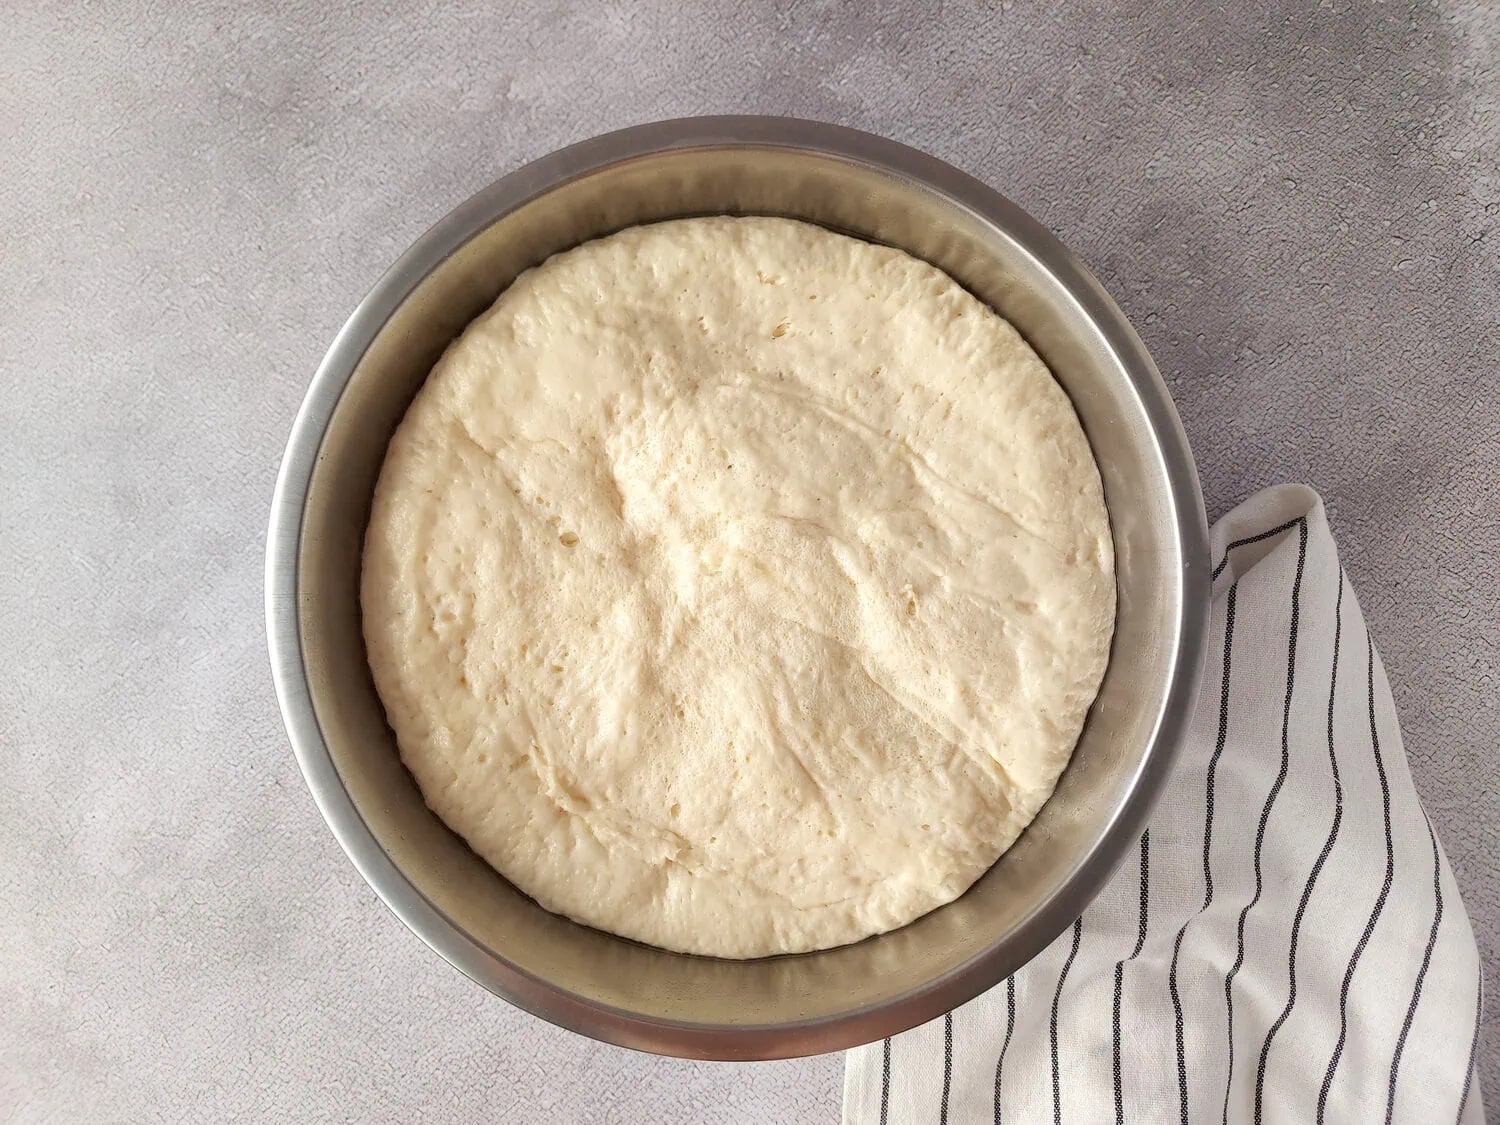
Step 5: Divide and Rest
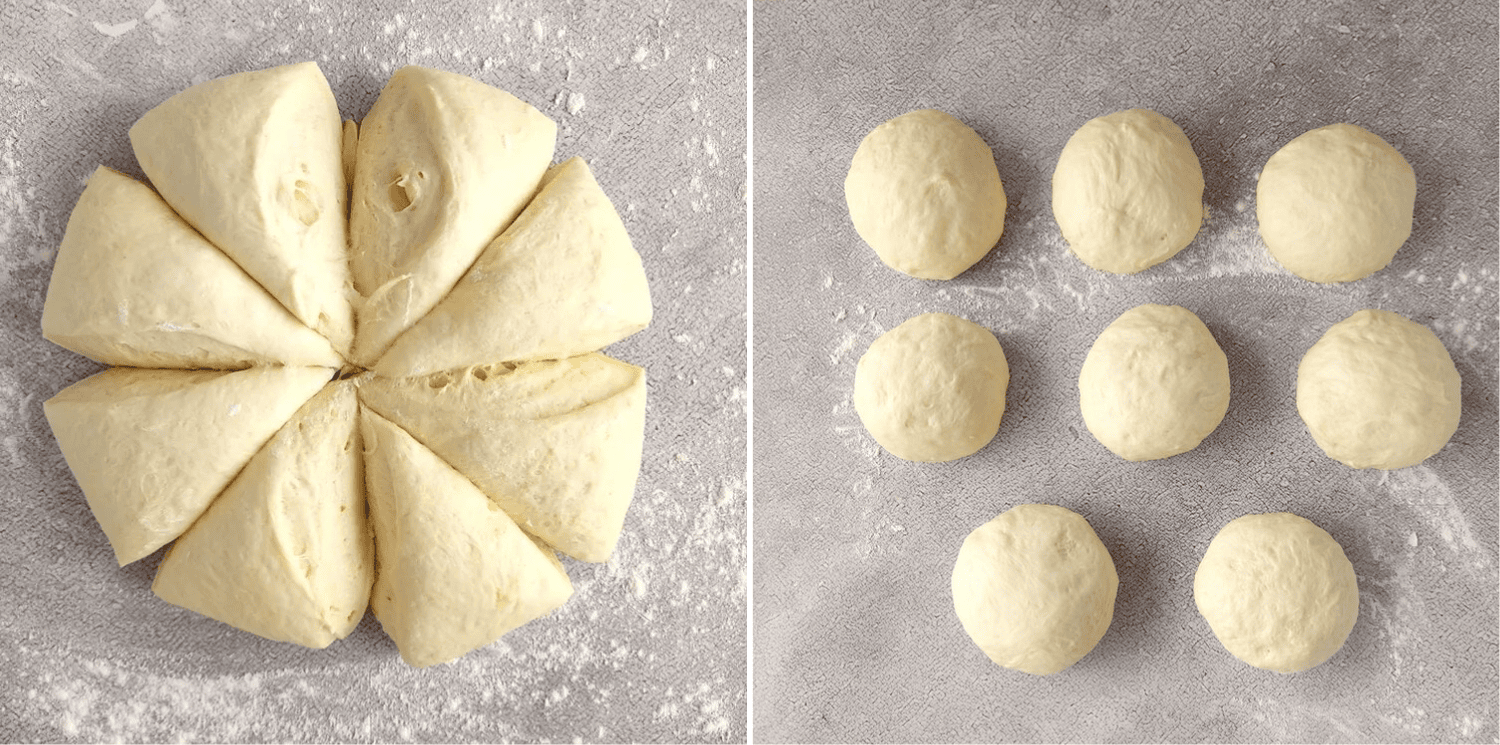
Punch the dough down and transfer it onto a lightly floured clean work surface. Divide it into 8 equal pieces, then shape each into a smooth dough ball. Cover them with a towel and let the dough rest for about 20 minutes. This short resting time relaxes the gluten and makes rolling much easier.
Step 6: Shape the Pitas
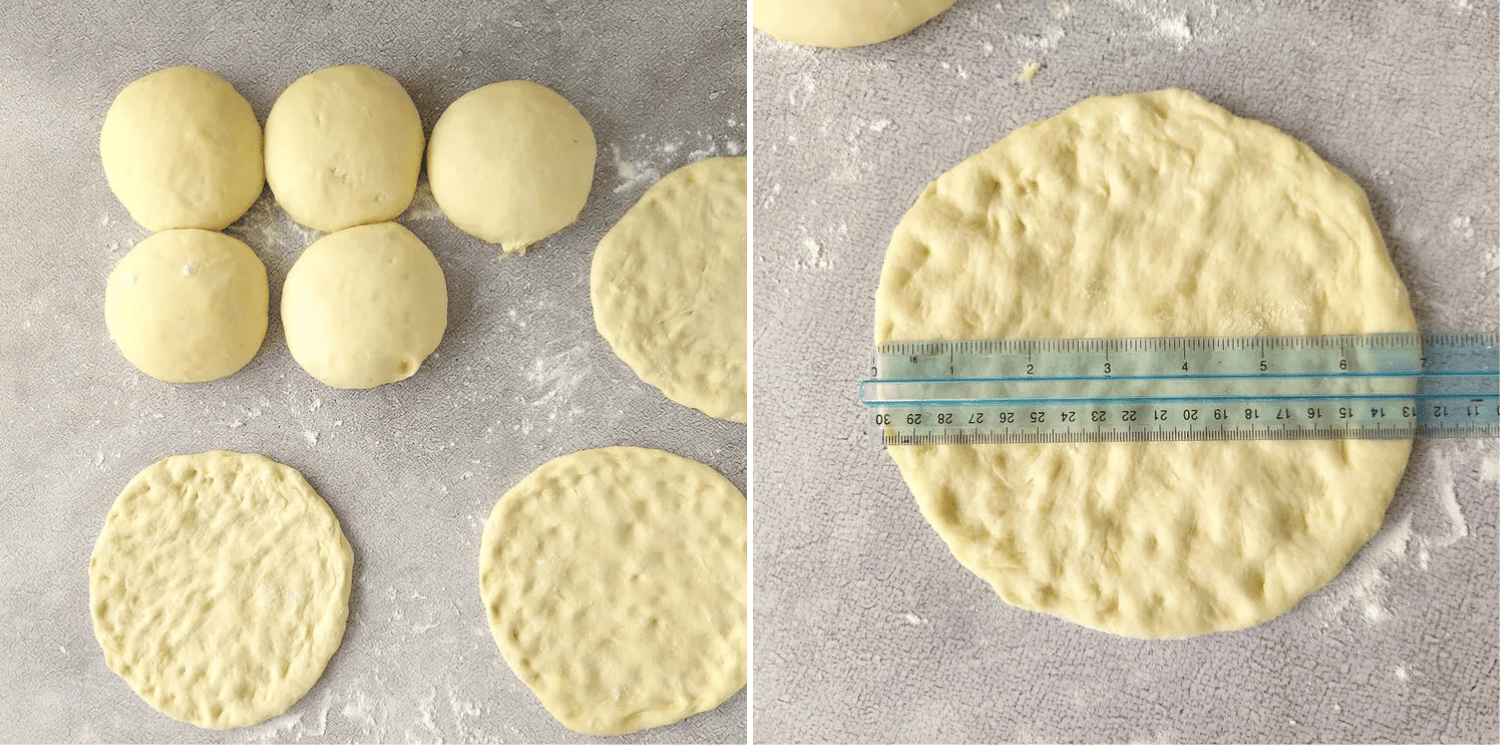
Using your fingers or a rolling pin, shape each dough ball into a circle approximately 7 inches wide and about 1/3 inch thick. Try to maintain an even thickness throughout so the pita cooks evenly. If the dough resists rolling, let it rest for another 5 minutes before trying again.
Step 7: Cook the Pita
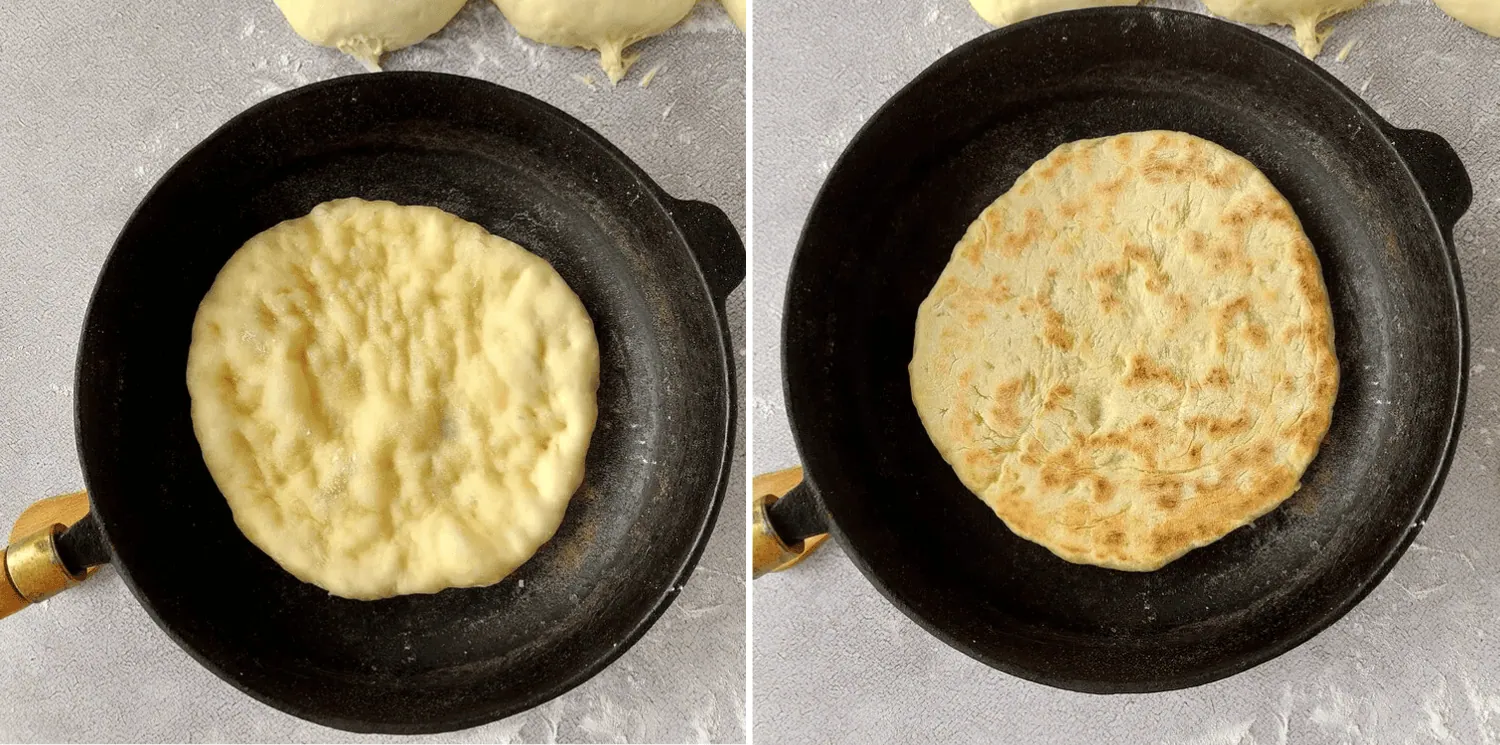
Heat a cast iron or non-stick frying pan over medium heat, no oil needed. Place one pita in the hot pan and cover with a lid for the first minute to help trap the steam and cook the inside. Cook for 2-3 minutes, or until bubbles begin to form and the bottom develops golden-brown spots. Flip over and cook for another 1-2 minutes.
Step 8 – Stack and Steam
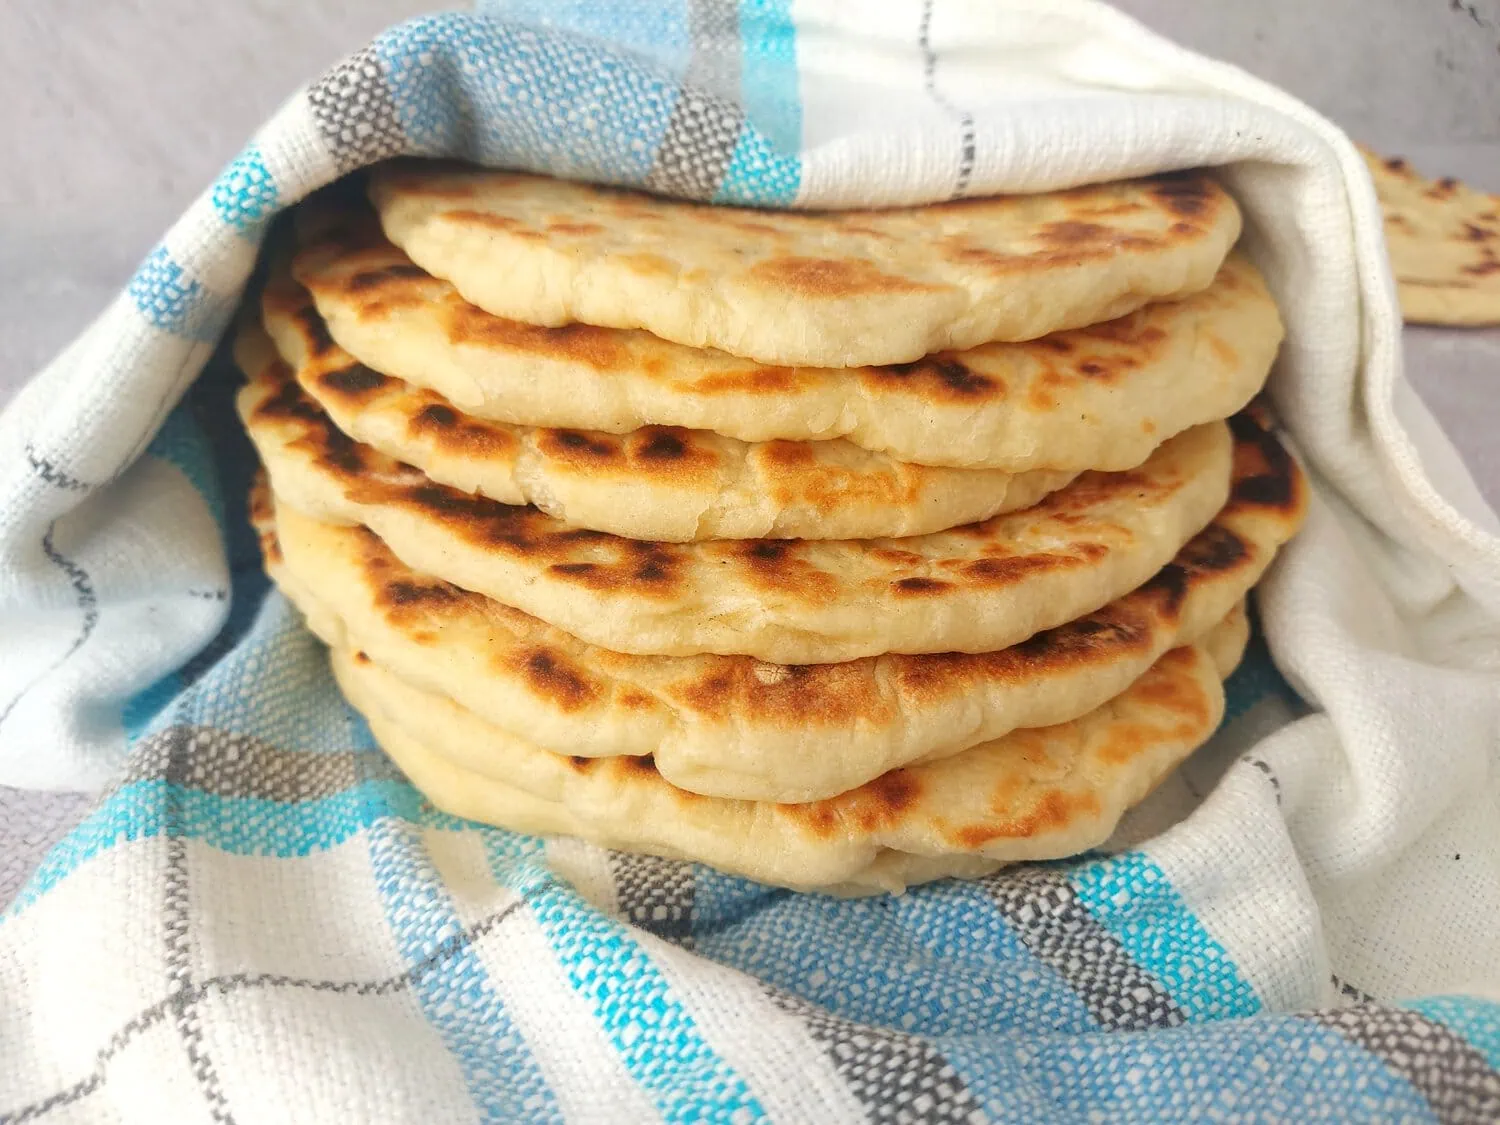
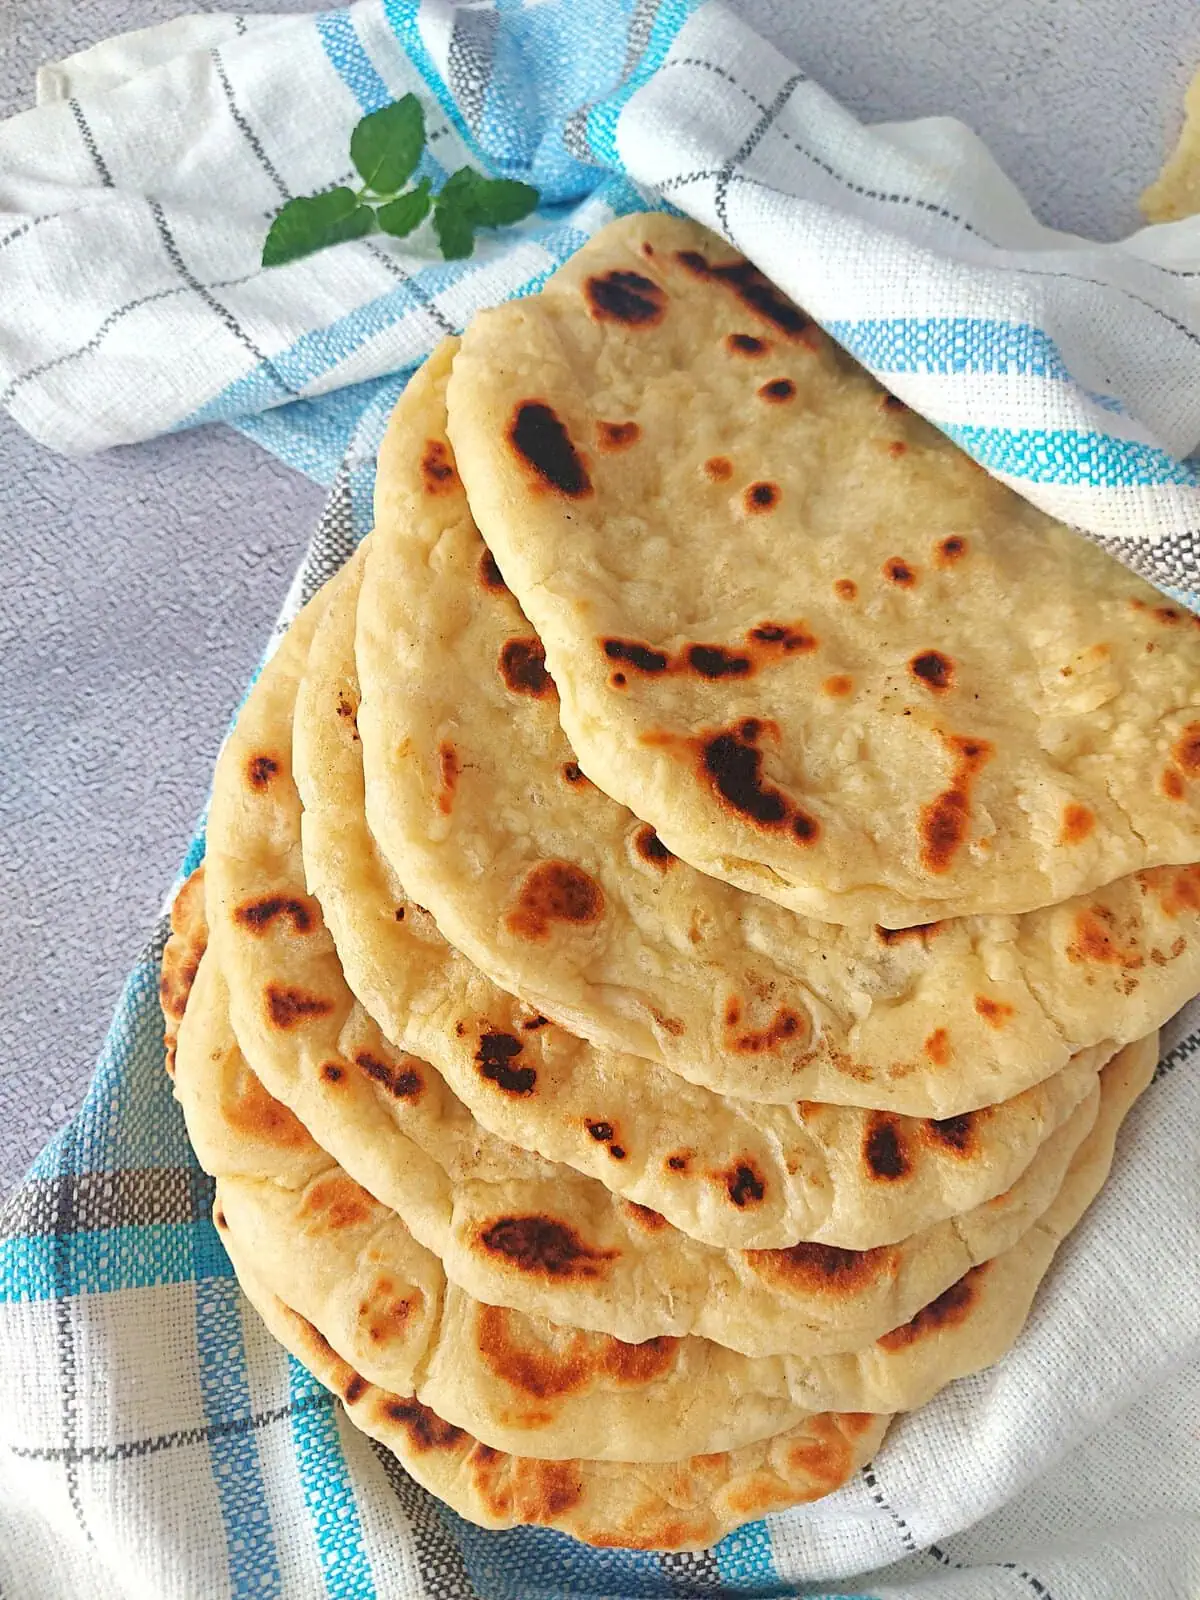
Stack the finished pitas in a clean kitchen towel as they finish cooking. The trapped steam keeps them soft and flexible. Serve warm. Enjoy!
Variations of This Greek Style Pita Bread
Whole wheat Greek pita — Replace up to half of the bread flour with whole wheat flour for a heartier pita. Add an extra tablespoon or two of warm water if needed, since whole wheat flour absorbs more moisture.
Fresh herbs — Mix chopped oregano, dill, parsley, or rosemary into the dough before the first rise for extra flavor.
Garlic butter — While the pita is still warm, brush it with melted butter mixed with garlic and parsley.
Mini pitas — Divide the dough into smaller portions to create individual-sized pitas for appetizers or lunch wraps.
Sesame seeds — Brush the dough lightly with olive oil before cooking and sprinkle with sesame seeds.
What to Serve With Greek Style Pita Bread
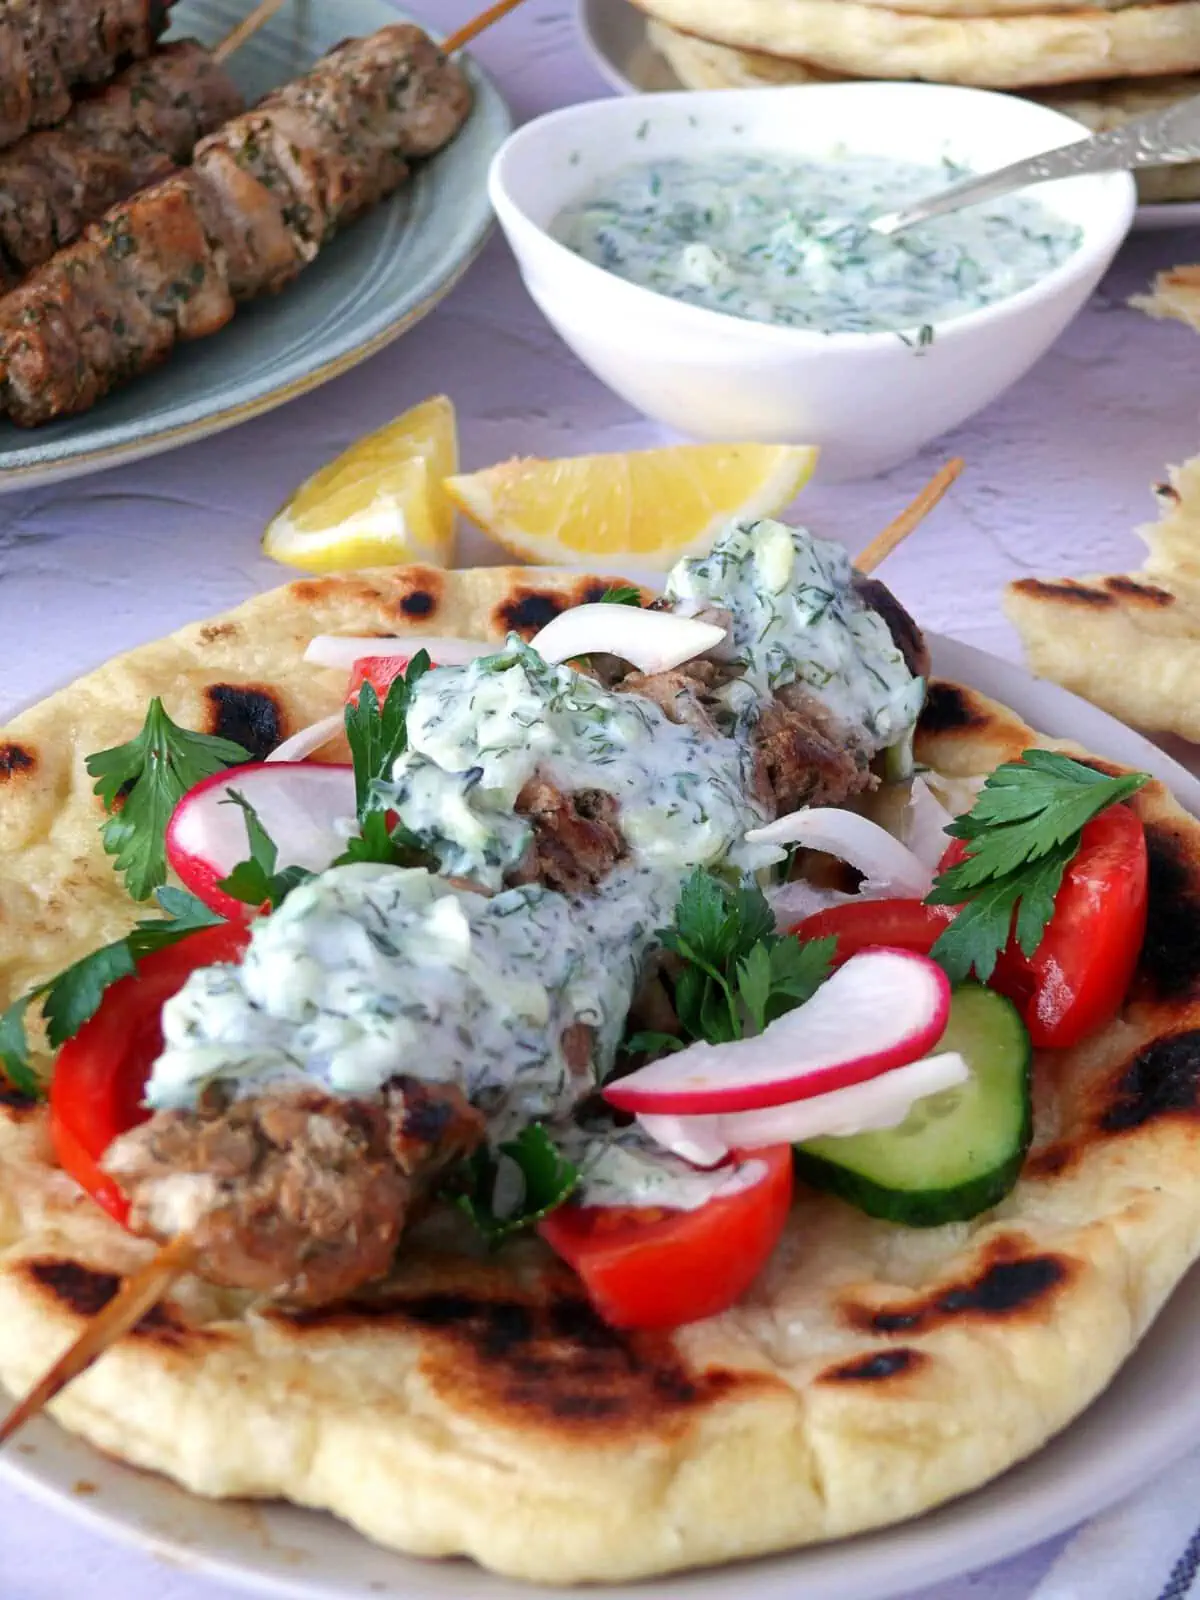
This Greek pita bread is built for scooping and wrapping, not stuffing; that’s the whole appeal of a pocketless pita. A few ways I use it most:
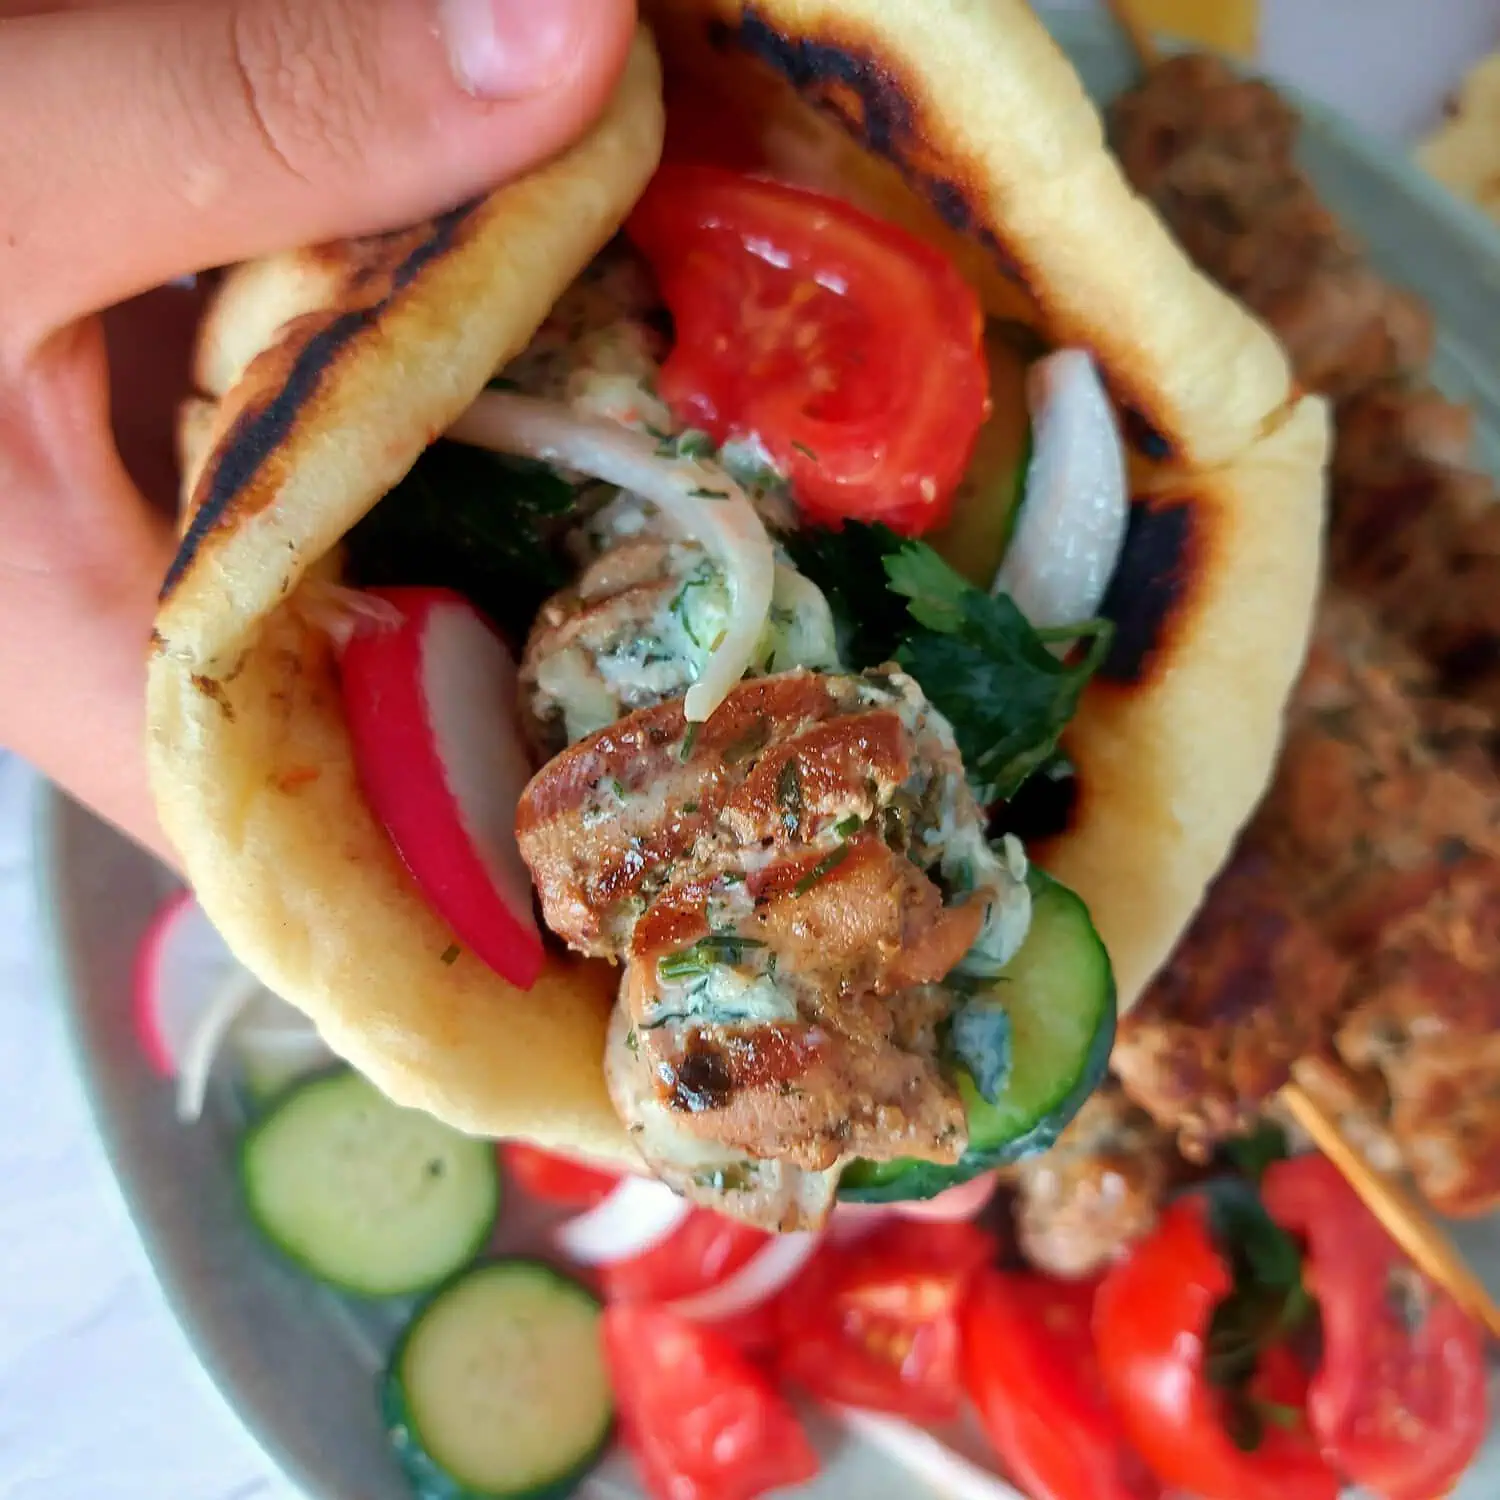
Chicken souvlaki wraps — Fill warm pita with chicken souvlaki, tzatziki, tomatoes, onions, and fries for a classic Greek street food experience.
Homemade gyros — Add sliced chicken, pork, or lamb with lettuce, tomatoes, onions, and tzatziki for satisfying pita bread sandwiches.
With Mediterranean dips — Pair warm pita with your favorite dips: hummus, whipped feta, tzatziki, baba ganoush, or roasted red pepper dip.
With salads — Serve with Greek salad, chickpea salad, or tomato cucumber salad to turn a simple meal into something more substantial.
Pita bread pizza — Top with mozzarella, tomatoes, olives, spinach, and grilled chicken, and place under the broiler for a few minutes until the cheese has melted.
As breakfast — Spread warm pita with scrambled eggs and feta, avocado and tomatoes, Greek yogurt with honey or nut butter, and fresh fruit. It’s a delicious alternative to toast.
Pita chips — Brush leftover pita with olive oil, and season with oregano and sea salt. Cut into wedges and bake until crisp for dipping, or a quick mezze spread with olives and feta.
For Tex-Mex wraps — Fill warm pita with grilled chicken, lettuce, avocado, cheese, and fresh Pico de Gallo for a quick fusion-style meal.
7 Expert Tips for Soft, Fluffy Pita Bread
Use bread flour for the best texture — While all-purpose flour works well, bread flour produces the soft, chewy texture that’s characteristic of authentic Greek pita bread.
Don’t add too much flour — The dough should feel soft and slightly tacky, not dry. Too much flour creates dense, heavy pita instead of the light, flexible texture you’re after.
Give the dough time to rise — One of the biggest secrets to soft homemade pita bread is allowing enough time for the first rise. Let the dough double in size naturally before dividing it into dough balls.
Let the dough balls rest before rolling — After dividing the dough into equal pieces, let the dough balls rest for about 20 minutes. This makes the dough easier to stretch without springing back.
Preheat the pan completely — A properly heated skillet is essential. A hot surface creates the signature blistered spots while keeping the inside soft and tender.
Keep the pan dry — Oil in the pan stops the pita from puffing properly. You want direct, dry contact with the hot surface for that classic fluffy pita bread rise.
Keep the finished pitas covered — As each pita finishes cooking, stack it under a clean kitchen towel. The trapped steam keeps the bread soft, flexible, and easy to fold around your favorite fillings.
How to Store Greek Style Pita Bread
At room temperature — Once completely cooled, store the pita in an airtight container or zip-top bag for up to 3 days. Keeping the bread sealed helps prevent it from drying out.
In the refrigerator — While refrigeration isn’t necessary, you can refrigerate pita for up to 5 days. Warm it briefly in a skillet or microwave before serving to restore its soft texture.
To freeze — Once cooled, stack pitas with parchment between each one, then transfer to a freezer bag, plastic bag, or airtight container. Freeze for up to 3 months. They reheat in a dry skillet in under a minute.
To reheat — Warm the pita in a dry skillet over medium heat for 30 to 60 seconds per side, or microwave it for 15 to 20 seconds wrapped in a slightly damp paper towel. This helps bring back its soft, flexible texture.
FAQs
What’s the difference between Greek pita bread and regular pita bread?
Traditional Greek Style Pita Bread is thicker, softer, and doesn’t form a pocket when baked. Middle Eastern pita bread is typically baked at a higher temperature, causing it to puff and create the familiar pocket that’s often used for stuffing sandwiches.
Can I make pita bread with all-purpose flour?
Yes. All-purpose flour makes a delicious pita with a slightly softer, less chewy texture. If you want the authentic texture found in many Greek tavernas, bread flour is the better choice.
Why doesn’t my pita puff up?
A little puffing is normal, but Greek pita bread isn’t designed to fully inflate like pocket pita. If your pita stays completely flat, make sure your skillet is fully preheated and your yeast is fresh.
Can I make the dough ahead of time?
Absolutely. After kneading, cover the dough and refrigerate it overnight. Let it come to room temperature for about 30 to 45 minutes before shaping and cooking.
Why is my pita bread tough?
This usually happens when you add too much flour during kneading or when the bread is overcooked. Keeping the dough soft and cooking each pita just until lightly golden helps maintain its tender texture.
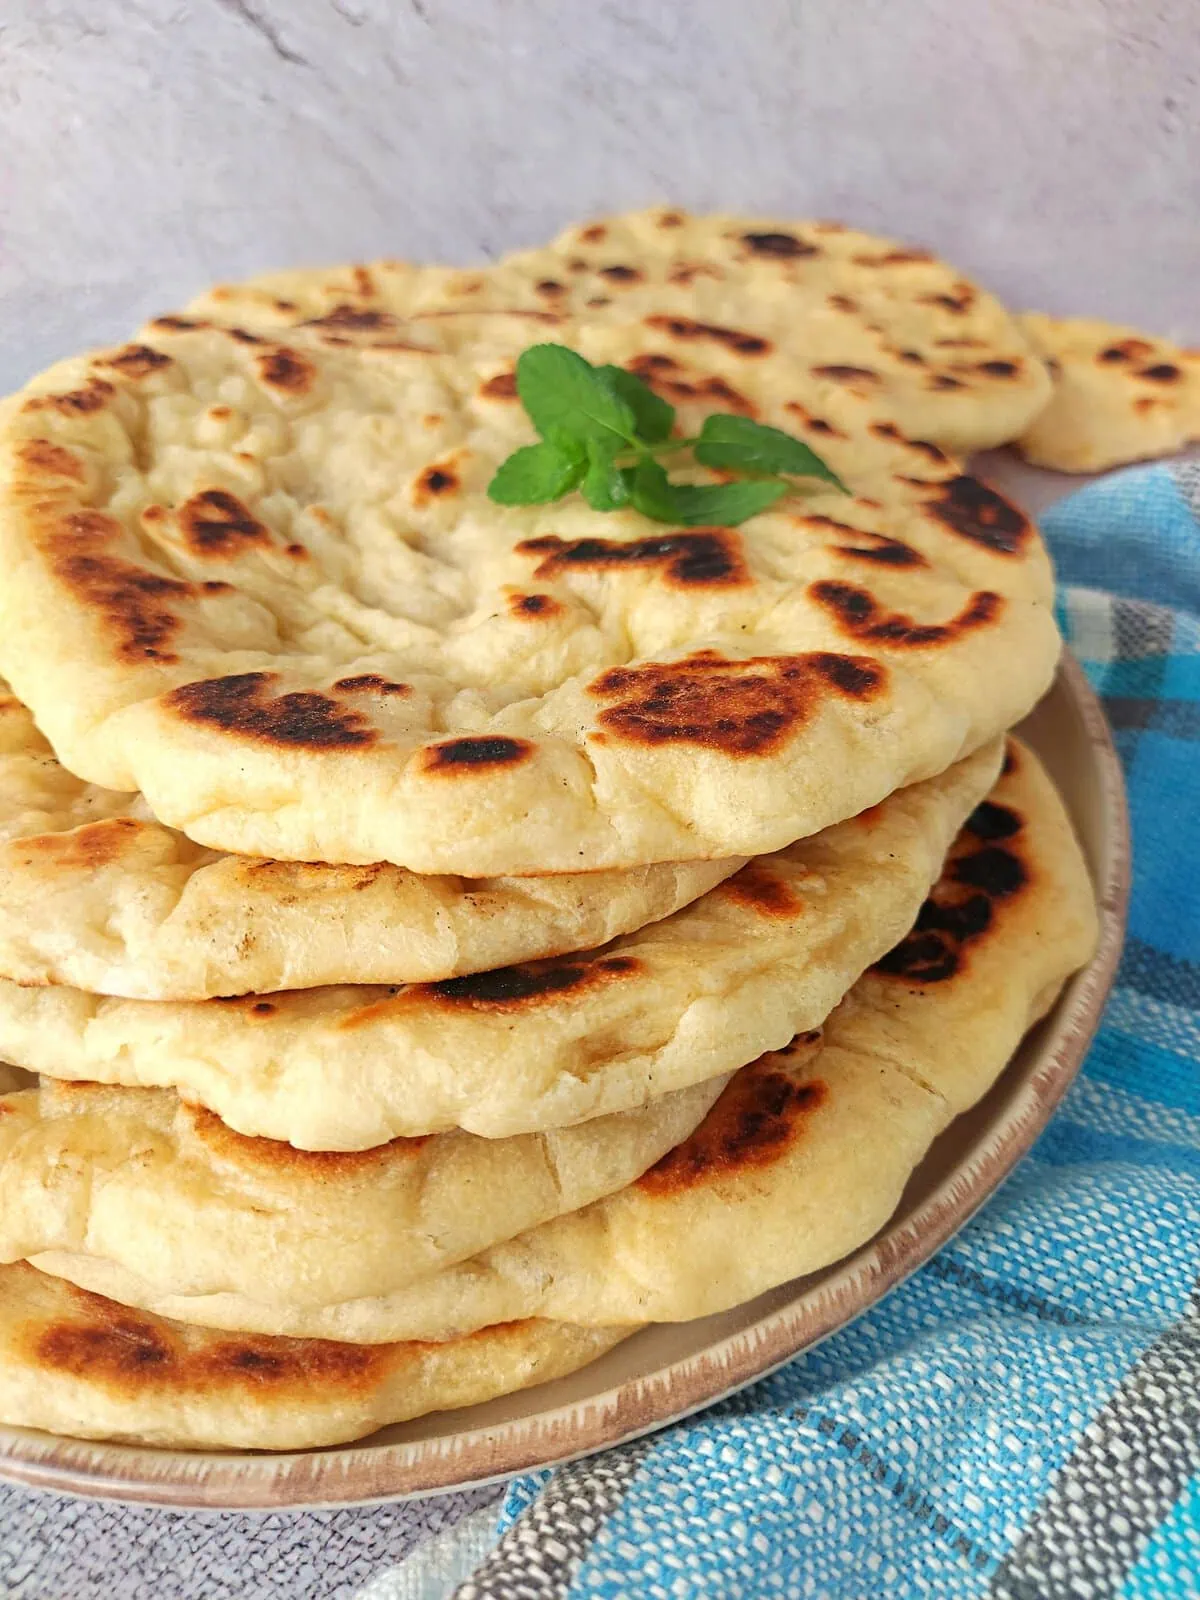
This Greek Style Pita Bread takes less effort than most people expect from homemade bread, and once you’ve made a batch, store-bought stops making sense. Whether it’s wrapped around pork souvlaki, torn into a bowl of tzatziki, or stacked warm next to a Greek salad, it’s the kind of base recipe worth having on repeat.
If you enjoyed this pita bread, be sure to save it for your next Mediterranean dinner or homemade gyros night. And if you give it a try, I’d love to hear how it turned out in the comments. Reviews are always appreciated, too. Thanks so much for cooking along with me!
Build Your Greek Feast
Complete your meal with more recipes from the Taste of Greece Series.
Taste of Greece Series
- Traditional Greek Souvlaki Skewers (Authentic Recipe)
- Healthy Tzatziki Sauce Recipe (Easy & Authentic)
- Homemade Greek Salad Recipe in Under 15 Minutes
- Greek Slow Roasted Leg of Lamb (Fall Off the Bone!)
Perfect Side Dishes
- Golden Roast Potatoes with Rosemary and Garlic
- Grilled Mediterranean Vegetable Skewers Recipe
- Roasted Asparagus with Lemon (Ridiculously Easy)
Perfect Drizzles
Homemade Greek Style Pita Bread (Super Fluffy!)
Ingredients
- 5 cups (600 g) bread flour (or all-purpose flour)
- 1 packet (7 g) dry yeast
- ½ cup (120 ml) warm milk
- 3½ TBSP (50 ml) olive oil
- ½ cup (120 g) Greek yogurt
- 1 cup (240 ml) warm water
- 1 TBSP sugar
- ½ tsp salt
Instructions
- In a medium bowl, whisk together 1/2 cup flour, sugar, warm milk, warm water, and dry yeast until smooth. Let the mixture sit for 5–10 minutes, or until it becomes foamy and bubbles form on the surface.
- In a separate large bowl, combine the remaining 4 1/2 cups flour and salt. Add the olive oil, Greek yogurt, and the activated yeast mixture.
- Mix until a shaggy dough forms, then knead for 8–10 minutes, either by hand or with a stand mixer fitted with the dough hook, until the dough is smooth, soft, and elastic.
- Lightly oil a large bowl and place the dough inside, turning it once to coat. Cover with plastic wrap and let it rise in a warm place for about 2 hours, or until doubled in size.
- Punch the dough down, then transfer it to a lightly floured work surface. Divide it into 8 equal pieces and shape each into a ball. Cover loosely with plastic wrap or a kitchen towel and let them rest for 20 minutes.
- Lightly flour the work surface, sprinkle a little flour over each dough ball, and shape it with your fingers or roll with a rolling pin into a roughly 7-inch (18 cm) circle.
- Heat a large cast-iron skillet or heavy-bottomed pan over medium-high heat. Place one pita in the hot pan and cover with a lid for the first minute to help trap the steam and cook the inside. Cook for 2-3 minutes, or until bubbles begin to form and the bottom develops golden-brown spots.
- Flip the pita and cook for another 1–2 minutes, until the second side is lightly browned and the pita is cooked through.
- As each pita finishes cooking, place it directly into a clean kitchen towel set on a plate. Wrap the towel completely around the pita so it's fully covered. This traps steam and keeps the pitas soft. Enjoy!

Leave a Reply