These Easy Overnight Cinnamon Rolls are incredibly soft, fluffy, and topped with a thick layer of vanilla cream cheese frosting. By letting the dough rise slowly in the fridge, you get to skip all the messy flour-measuring and kneading at 6:00 AM. Instead, you just do the prep the evening before and enjoy a stress-free holiday breakfast.
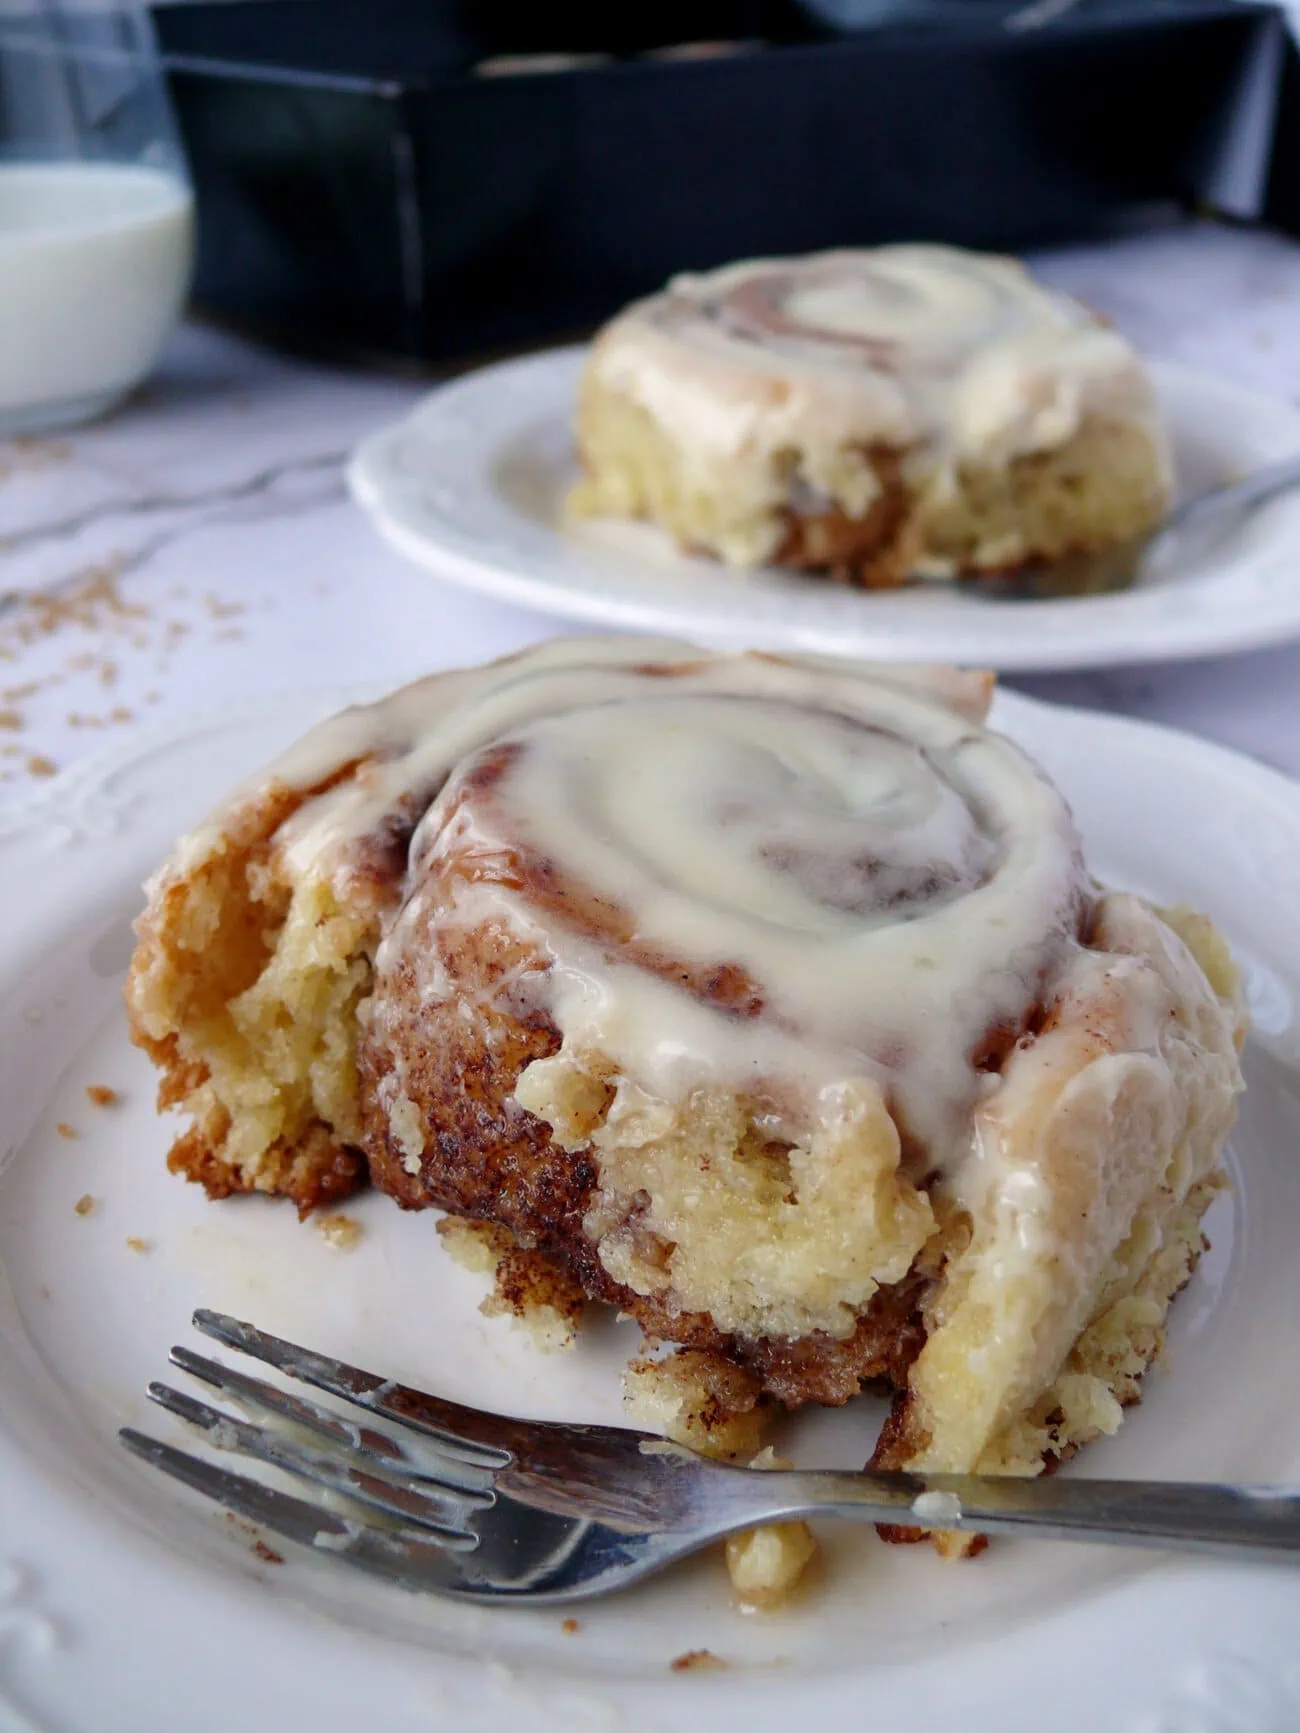
Few things match the comfort of a warm kitchen smelling of cinnamon and sweet yeast—especially on Christmas morning. I started making these Easy Overnight Cinnamon Rolls because I am simply not a morning person, and the last thing I want to do before coffee is wait hours for dough to rise. With this method, you do the heavy lifting the night before, let them sit on the counter while the oven warms up, and have fresh, gooey rolls ready before the kids even wake up.
What Makes These Overnight Cinnamon Rolls a Winner
Zero Morning Chaos – All the messy dough kneading, rolling, and shaping is completely finished the night before. This leaves your kitchen clean and your morning totally effortless.
Incredibly Soft Texture – A slow, cold rise in the refrigerator allows the flavors to deepen and makes the dough extra tender. You get that perfect, melt-in-your-mouth bakery texture without any of the morning rush.
Rich Cream Cheese Frosting – It melts right into the warm, cinnamon-brown sugar spirals, giving you a rich, creamy glaze that isn’t overwhelmingly sweet.
Ingredients For These Easy Overnight Cinnamon Rolls
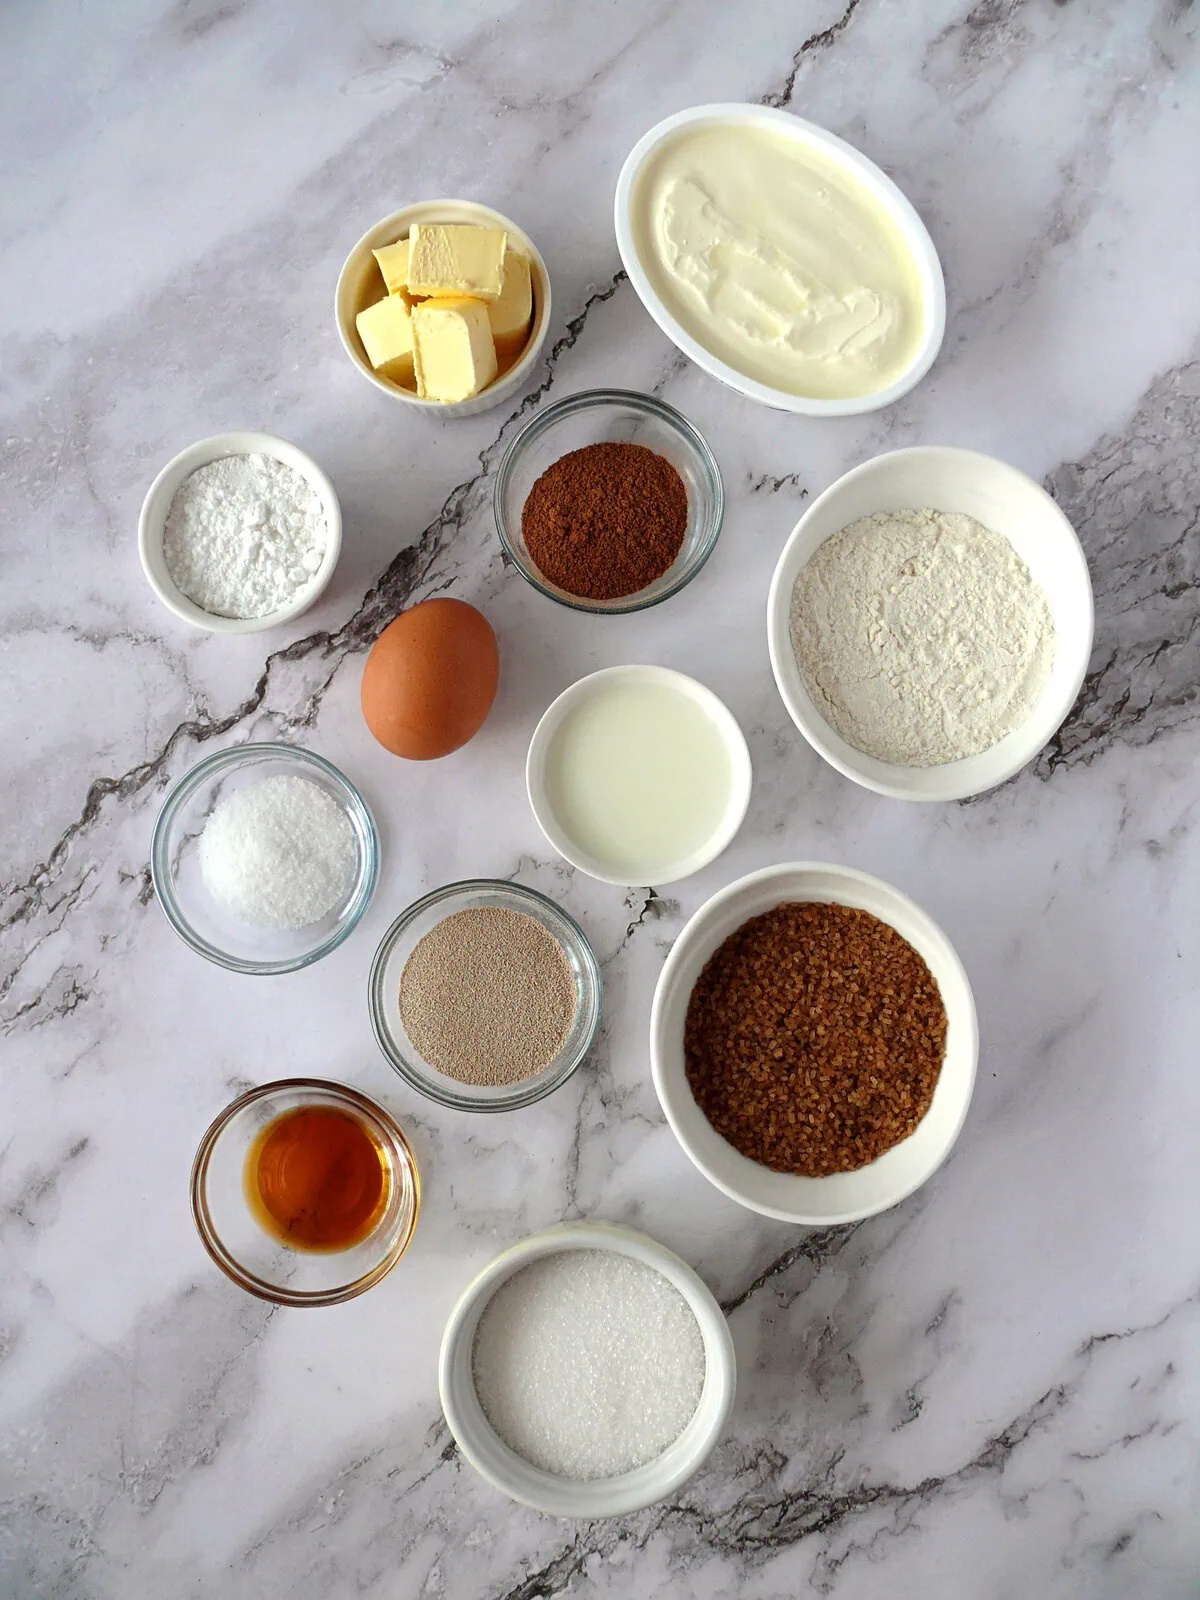
For the Dough:
Warm Milk – Essential for activating the yeast. Swap: Whole milk gives the richest, softest texture, but 2% milk, almond milk, or oat milk work perfectly fine too.
Instant Yeast – Makes the dough rise reliably without any extra fuss. Swap: If you only have active dry yeast, mix it into the warm milk with a pinch of sugar first. Let it sit for about 5 minutes until it gets foamy and bubbly before adding the other ingredients.
Granulated Sugar – Sweetens the dough slightly and helps keep the crumb soft and tender.
Eggs – Room temperature eggs add richness and give the dough its structure.
Unsalted Butter – Gives these homemade buns that classic, rich flavor. Swap: You can absolutely use salted butter; just skip or cut back on the extra salt listed below.
All-Purpose Flour – Everyday flour gives these rolls a classic, soft, pull-apart texture. Swap: If you have bread flour in your pantry, use it! It makes the rolls a bit chewier, matching that bakery-style finish.
Salt – A simple pinch to balance the sweetness so the flavors pop.
For the Cinnamon Filling:
Brown Sugar – Melts into the butter during baking to create a gooey, caramel-like swirl. Swap: Both light and dark brown sugar work great. Dark brown sugar will just give you a deeper molasses flavor.
Ground Cinnamon – The most important ingredient here. Make sure your spice jar is fresh so the kitchen smells incredible while they bake.
Softened Butter – Make sure it is soft enough to spread easily without tearing the dough, but not completely melted. Melted butter will leak right out of the spirals in the oven.
For the Cream Cheese Frosting:
Cream Cheese – Provides that signature tangy, creamy glaze that cuts through the sweetness of the warm rolls.
Salted Butter – Makes the icing smooth, rich, and easy to spread.
Milk – Just a splash to thin out the frosting so it glides on smoothly. Swap: Use heavy cream if you want an even creamier frosting.
Powdered Sugar – Sweetens and thickens the icing so it holds its shape on top of the rolls.
Vanilla Extract – Adds a warm, cozy flavor that pairs perfectly with the tangy cream cheese.
Equipment for Easy Overnight Cinnamon Rolls
Unflavored Dental Floss
Plastic Wrap
How to Make Easy Overnight Cinnamon Rolls
(To make this recipe as easy to follow as possible, I’ve included step-by-step photos below. For exact measurements, detailed baking times, and a full printable recipe, scroll straight down to the recipe card at the bottom of this post!)
Step 1 – Mix the Wet Ingredients & Yeast
Whisk the warm milk, active dry yeast, and a pinch of sugar together right in your stand mixer bowl. Let it sit for about 5 to 10 minutes until it gets frothy and puffy. If using instant yeast, you can skip the waiting time and whisk everything together right away. Otherwise, once ready, whisk in the eggs, softened butter, salt, and the remaining sugar until smooth.
Step 2 – Knead and Rise the Dough
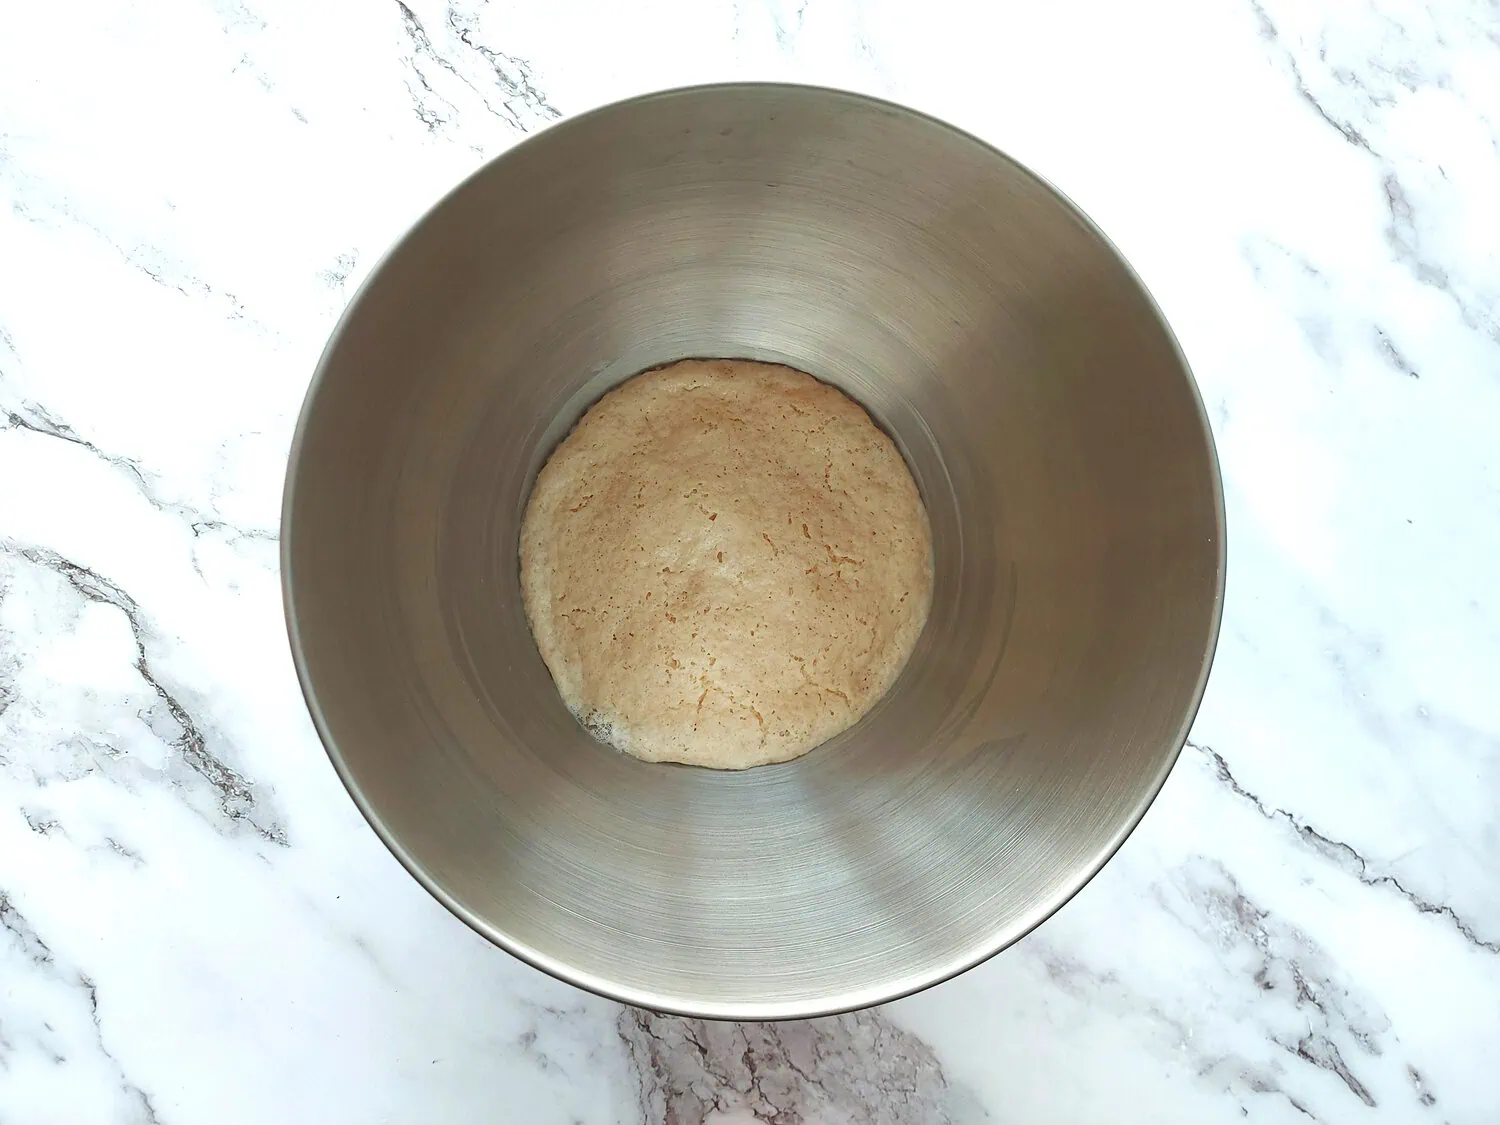
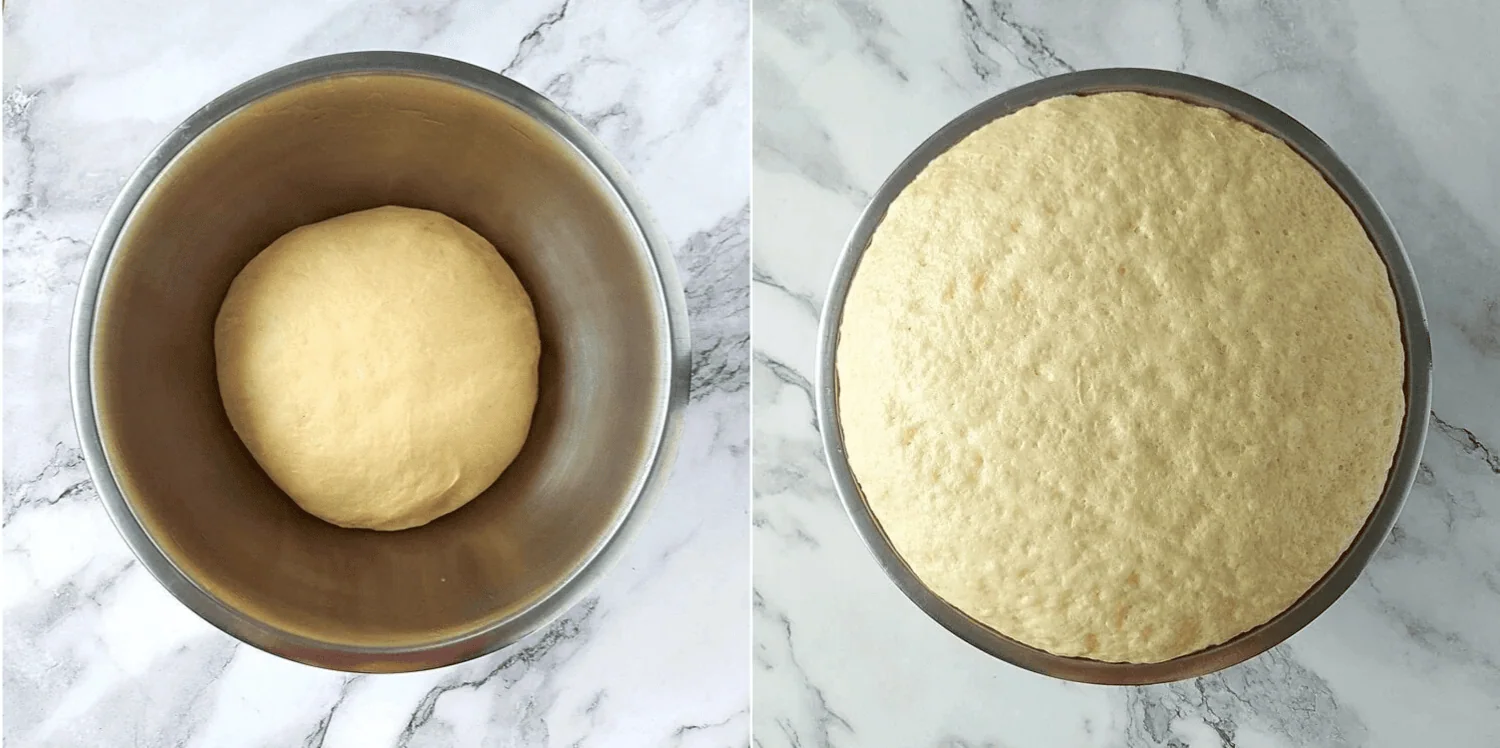
Attach the paddle attachment to your mixer, add 2 ½ cups of flour, and mix on low-medium speed until combined. Gradually add the remaining 1 ½ cups of flour (adding 1 cup first, then the final ½ cup) until a tacky dough forms and begins to pull away from the sides of the bowl. If it feels too sticky, add an extra tablespoon of flour at a time; if it feels too dry, add a splash of milk. Swap the paddle attachment for the dough hook and knead for 3 to 5 minutes until you have a soft, smooth dough. Shape the dough into a ball, place it in a lightly oiled bowl, cover it, and let it rise in a warm spot for about 1 to 1.5 hours, or until doubled in size. While it rises, grease your 9×13-inch baking pan.
Step 3 – Roll the Dough
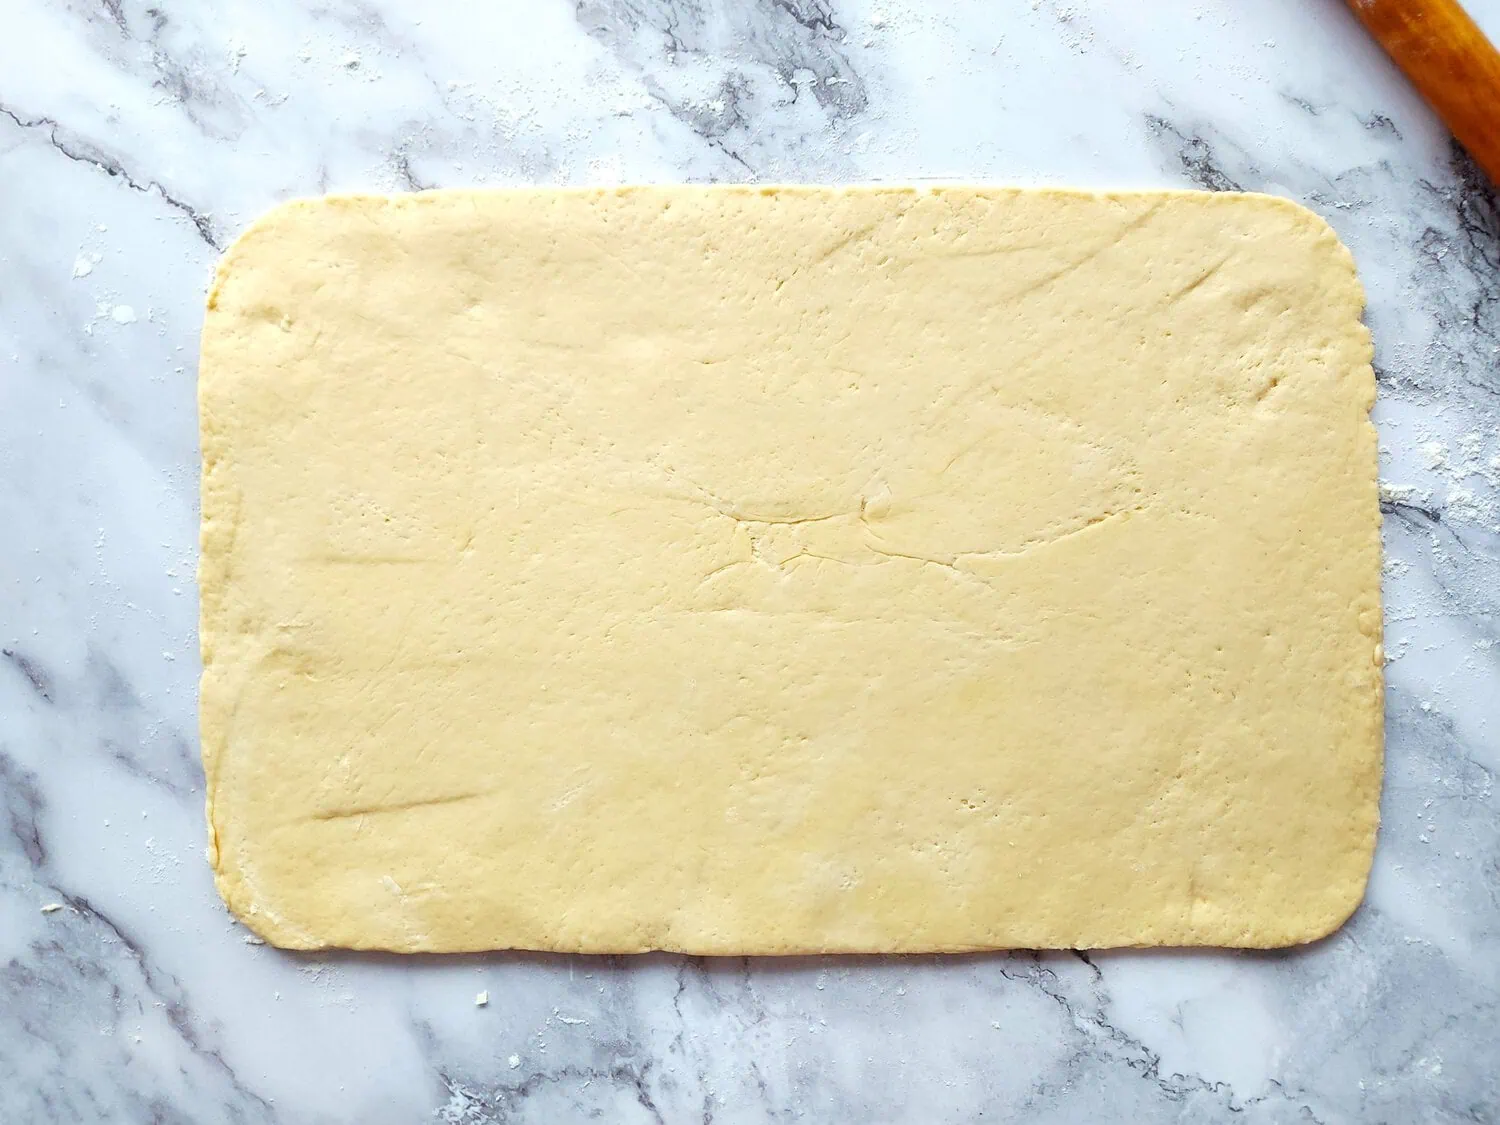
Punch down the risen dough and turn it out onto a lightly floured surface. Using a lightly floured rolling pin, roll the dough into a large, even rectangle, about 12×18 inches (30×45 cm).
Step 4 – Spread the Filling
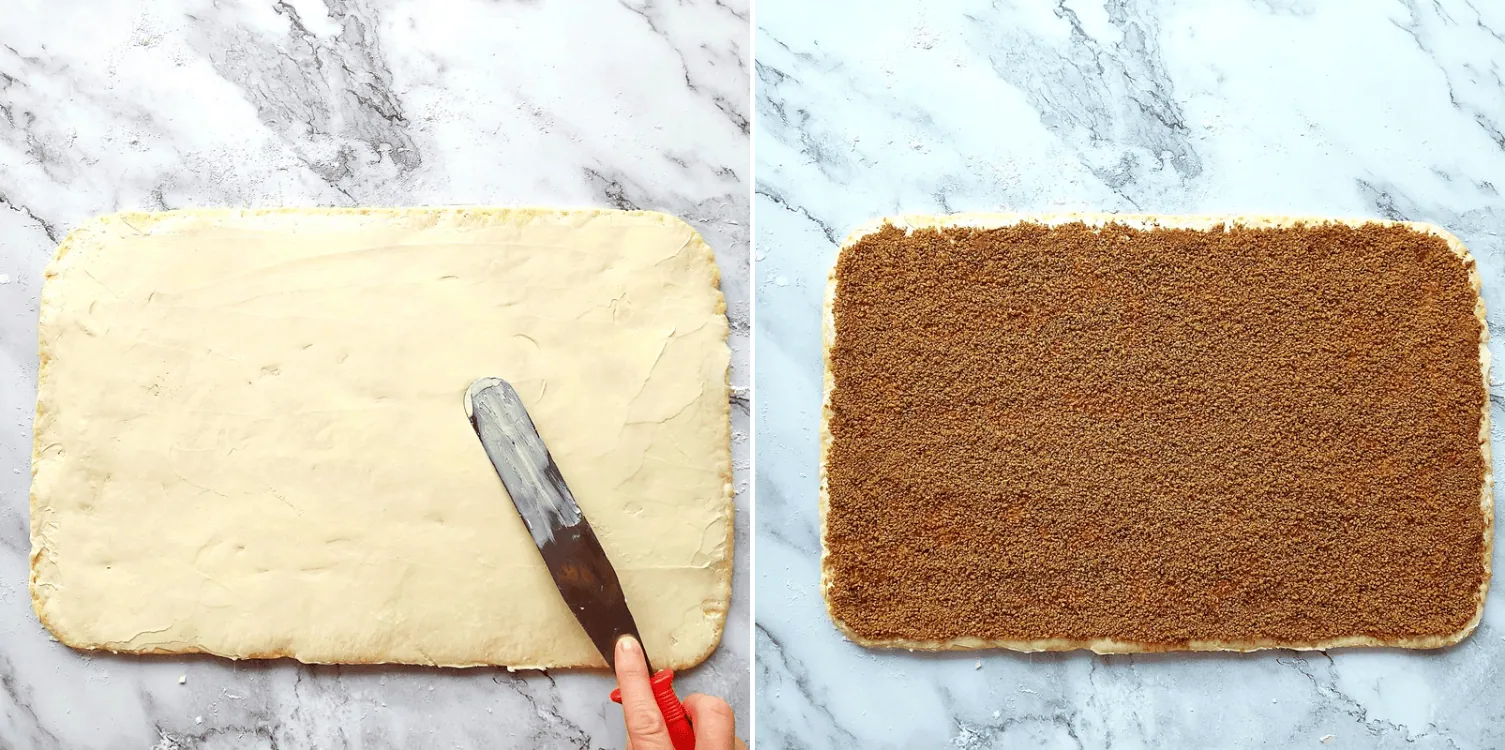
Spread the softened butter evenly across the rolled-out dough using a spatula, making sure to leave a tiny border around the edges so the filling doesn’t slide out. Sprinkle your cinnamon sugar mixture generously over the butter, pressing down very lightly with your hands so it sticks to the butter.
Step 5 – Roll the Dough Into a Log
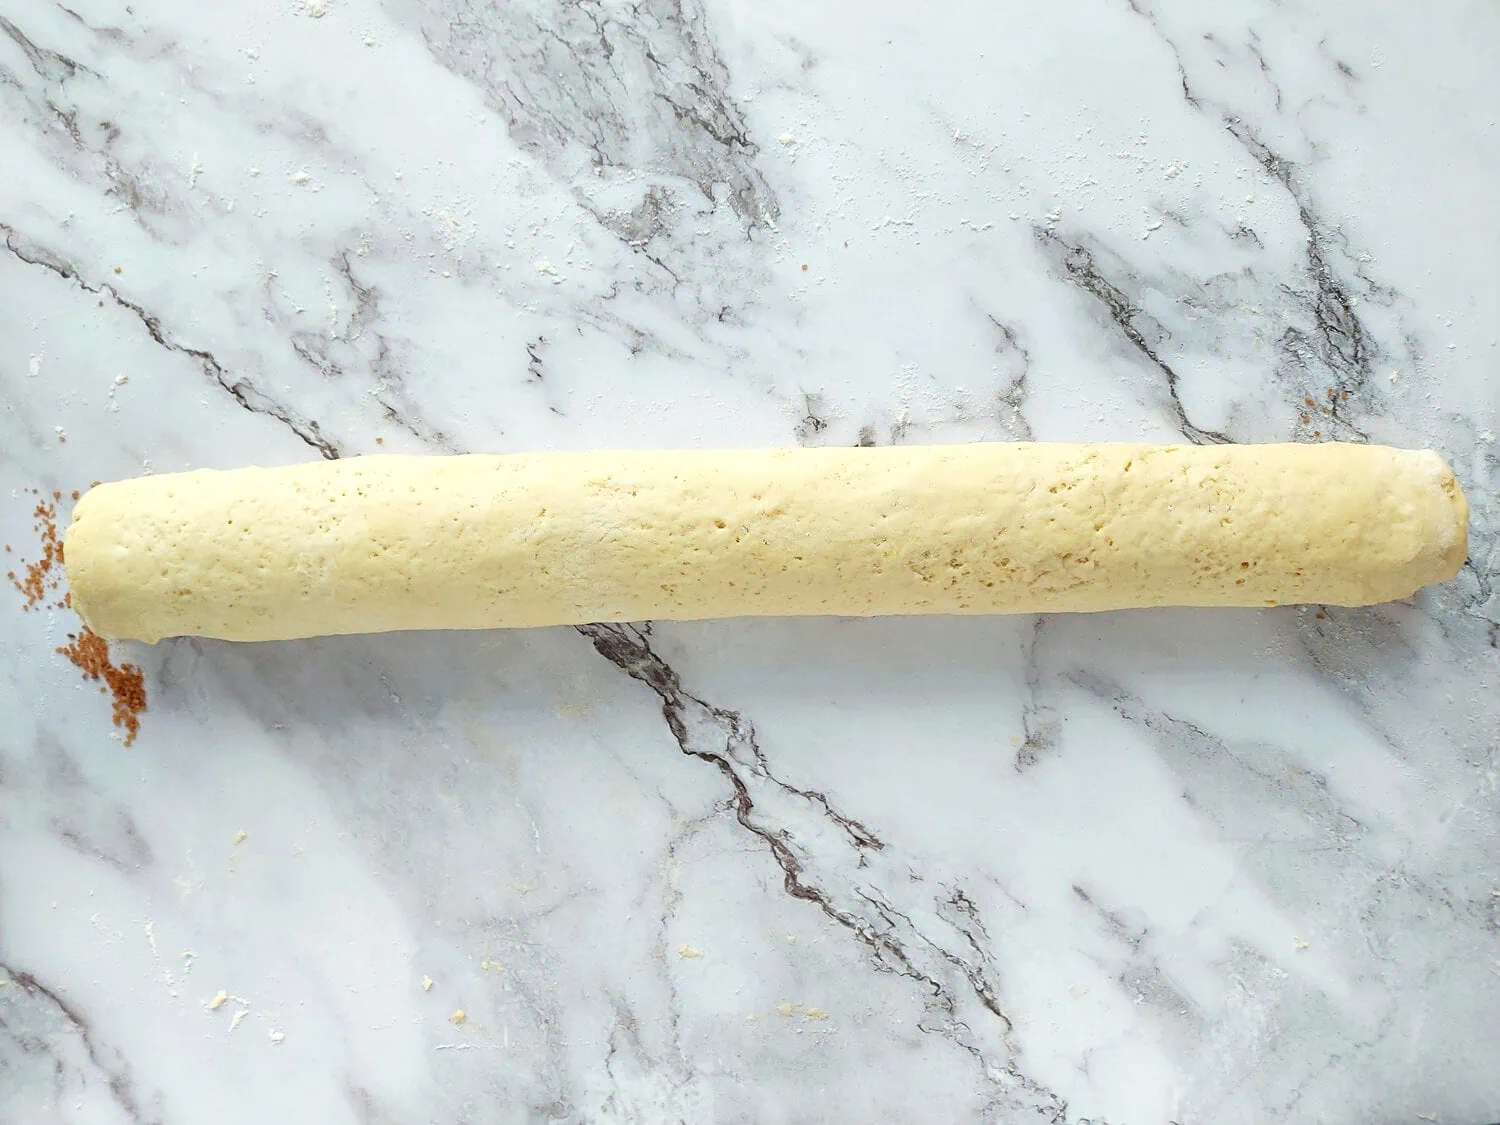
Starting from the long side closest to you, roll the dough up tightly into a neat log. Try to keep the roll snug so you get tight, beautiful spirals, and pinch the final seam gently with your fingers to seal it closed.
Step 6 – Slice the Rolls (The Floss Trick)
Slide a long piece of unflavored dental floss (or even clean sewing thread) under your dough log. Cross the two ends over the top of the log and pull firmly in opposite directions to slice. Quick note: I almost never use a knife here. No matter how sharp your knife is, sawing back and forth always squishes those beautiful, round spirals flat. Floss glides right through, leaving you with perfectly round, beautiful spirals
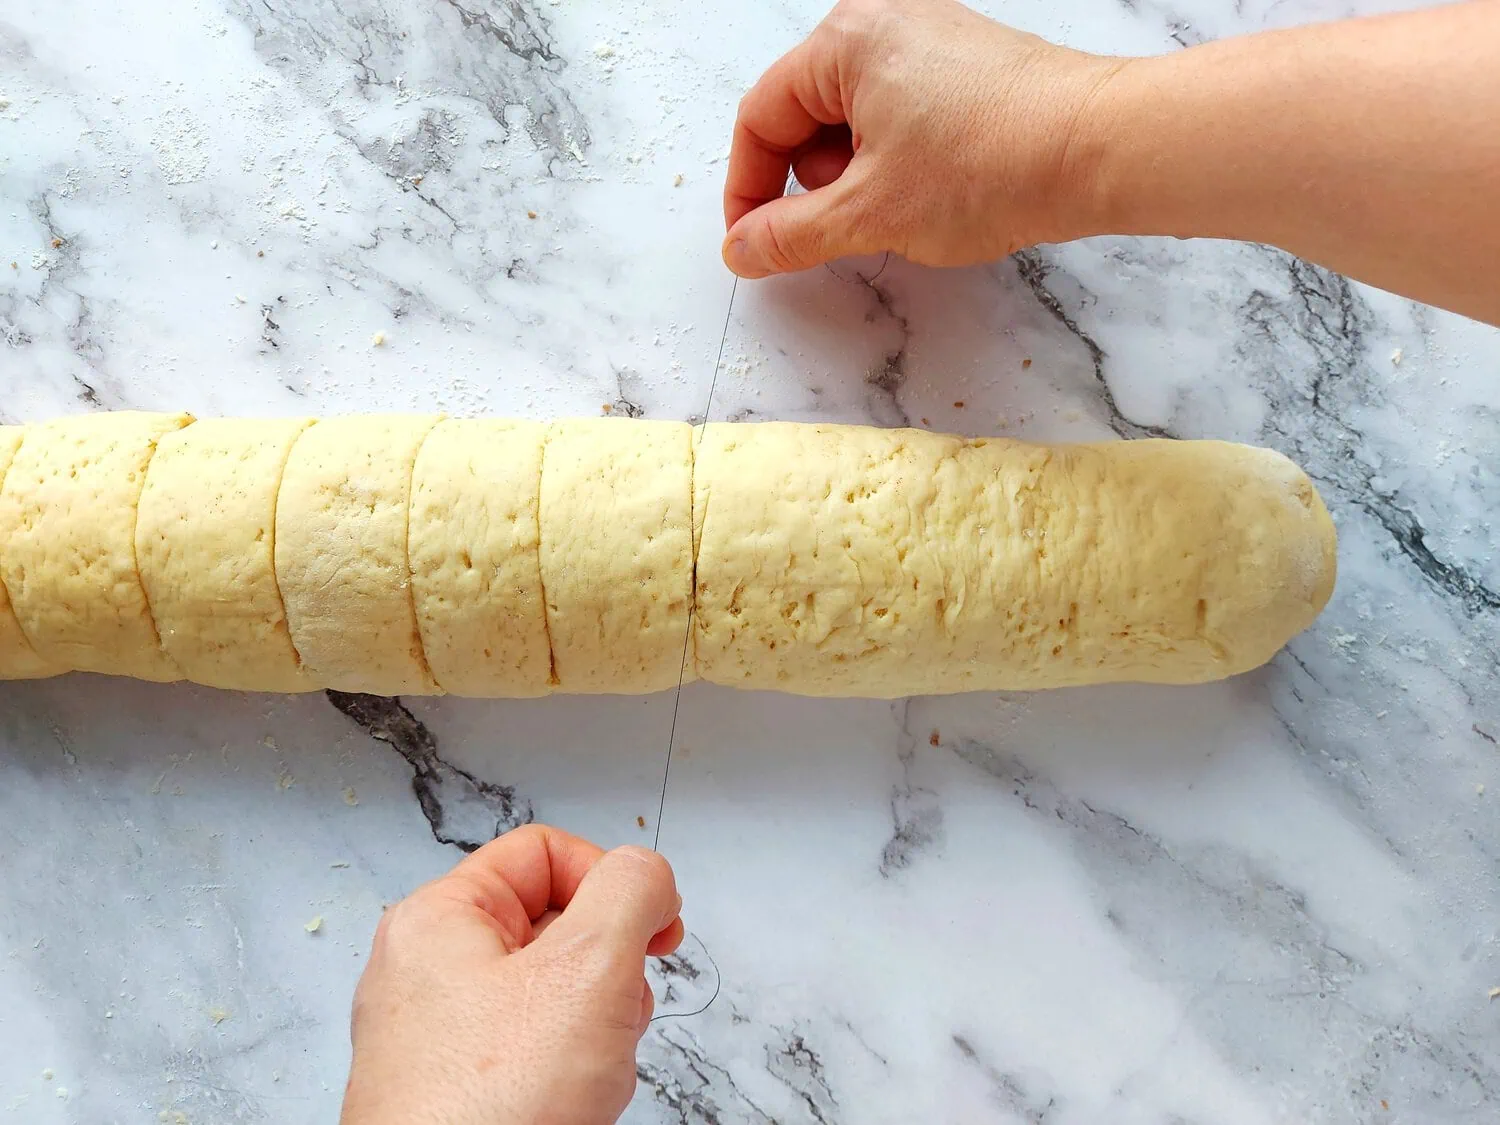
Step 7 – Chill Overnight & Final Rise
Arrange your 12 sliced rolls cut-side down in a greased 9×13-inch (23×33 cm) baking dish. Cover the pan tightly with plastic wrap and place it in the refrigerator for 8 to 15 hours. The next morning, take the pan out of the fridge and remove the plastic. Let your cinnamon rolls take their final rise at room temperature for about 1.5 to 2 hours. They are ready when they look puffy, soft, and completely fill out the pan.
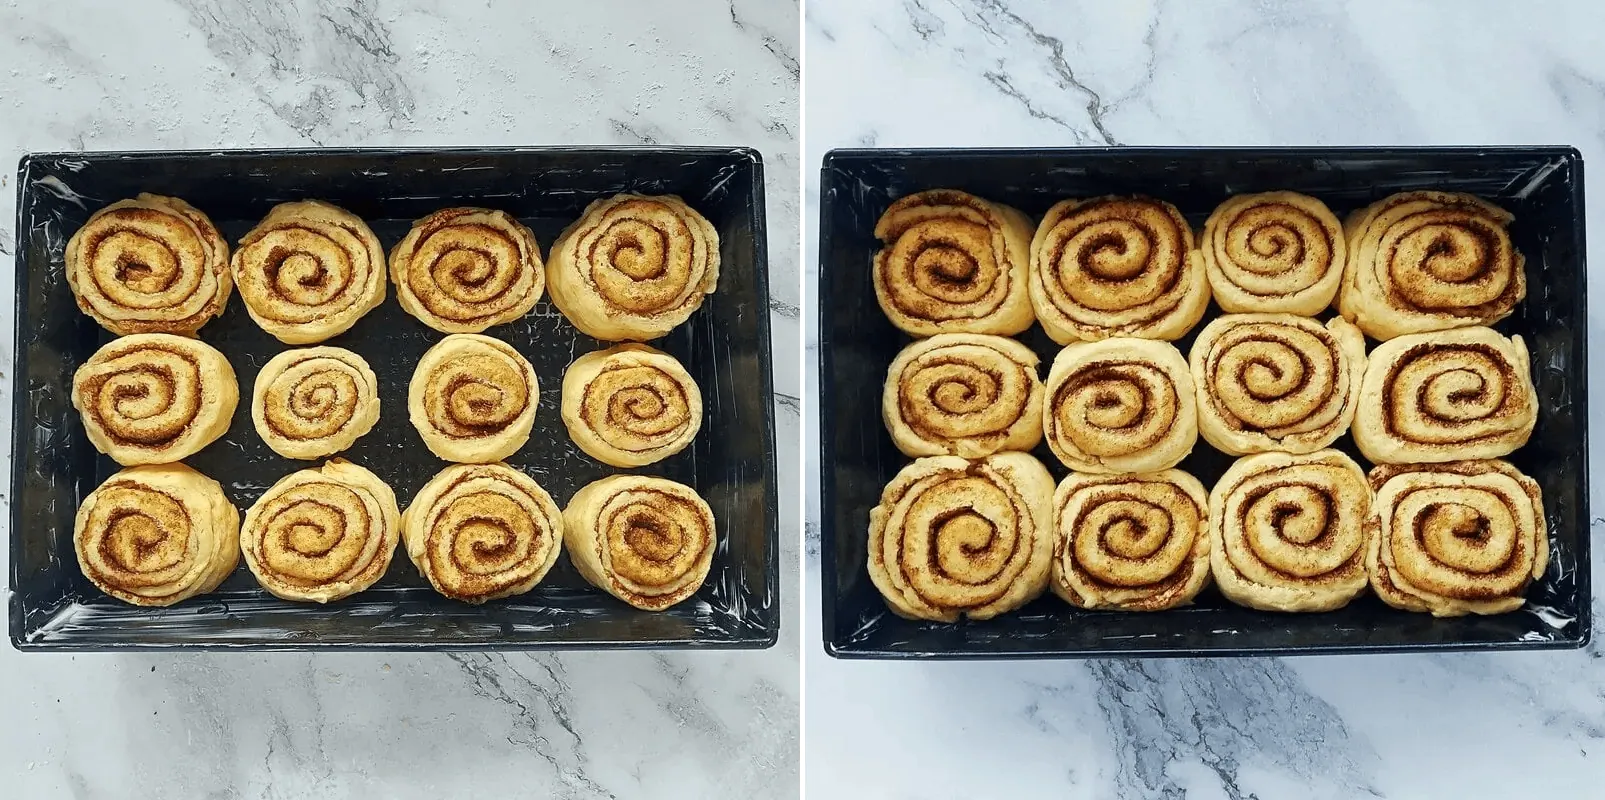
Step 8 – Bake to Golden Perfection & Prep Frosting
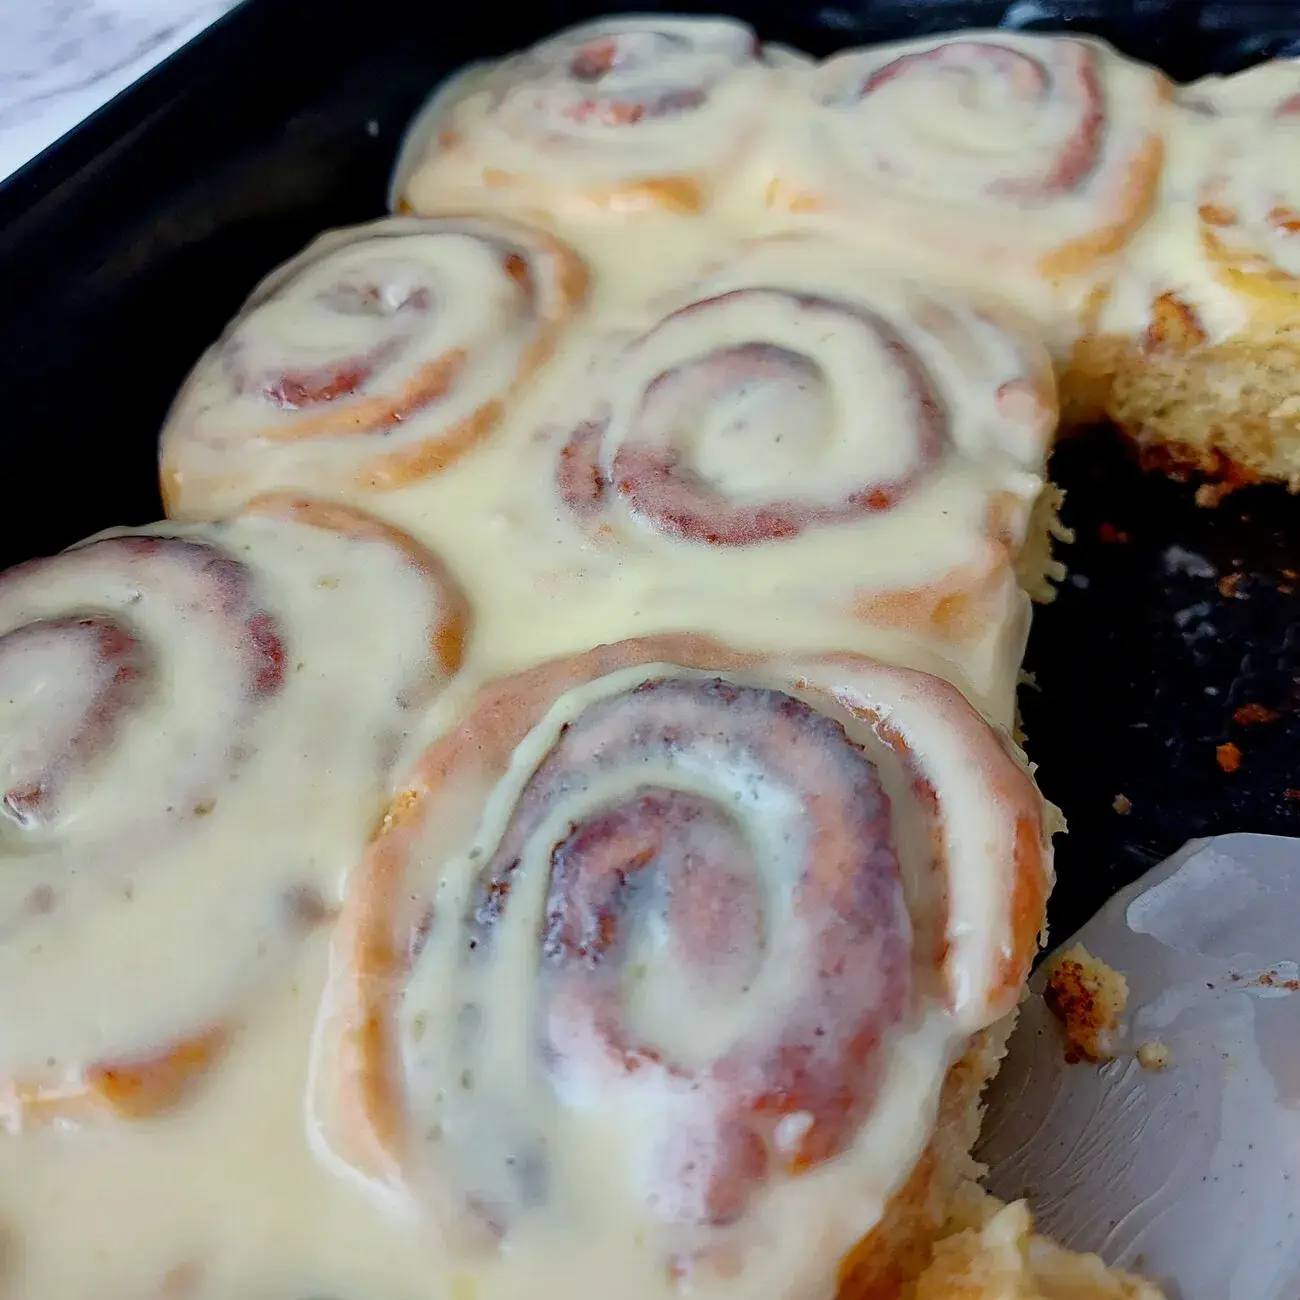
Preheat your oven to 350°F (175°C) and bake the risen rolls for 25 to 30 minutes, until the edges and tops are a light golden brown. While the cinnamon rolls are baking, prepare your frosting so it’s ready to go. Once the rolls are done, let the pan cool on the counter for about 10-15 minutes so the frosting doesn’t completely melt off when applied.
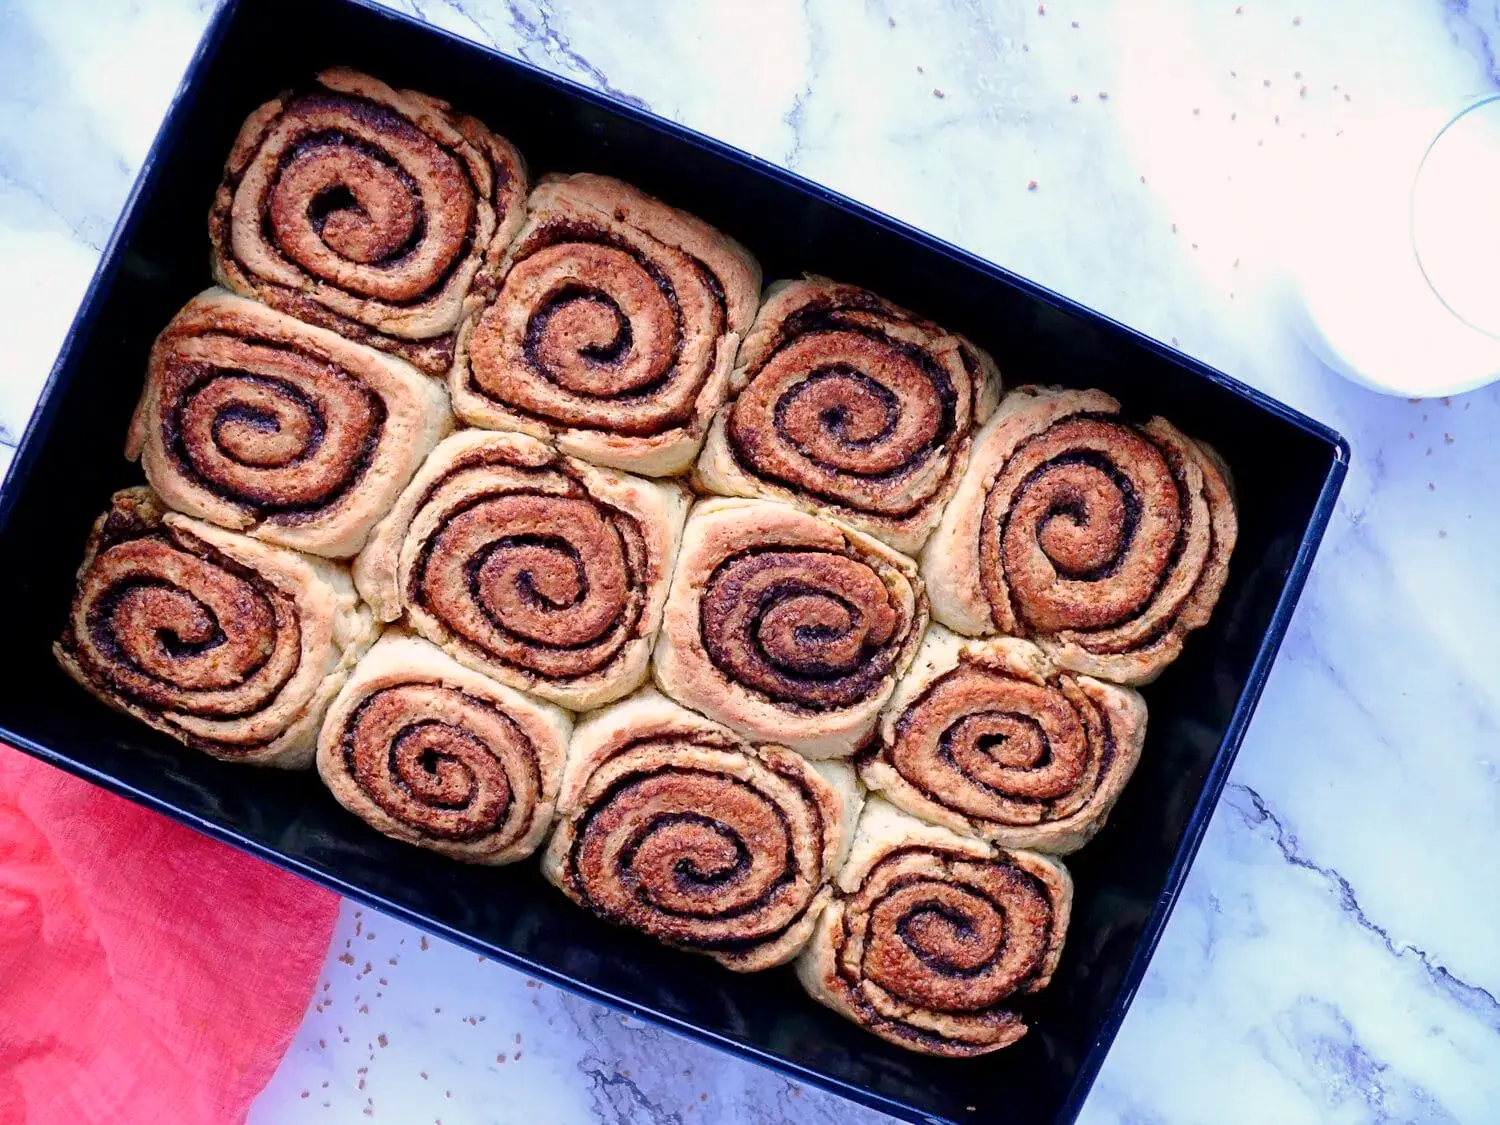
Step 9 – Frost and Serve
Spread your fresh cream cheese frosting generously over the warm buns using a spatula or the back of a spoon. The warmth from the fresh rolls will melt the icing slightly, letting it glide into every single cinnamon spiral. Serve them immediately while they are warm and gooey.
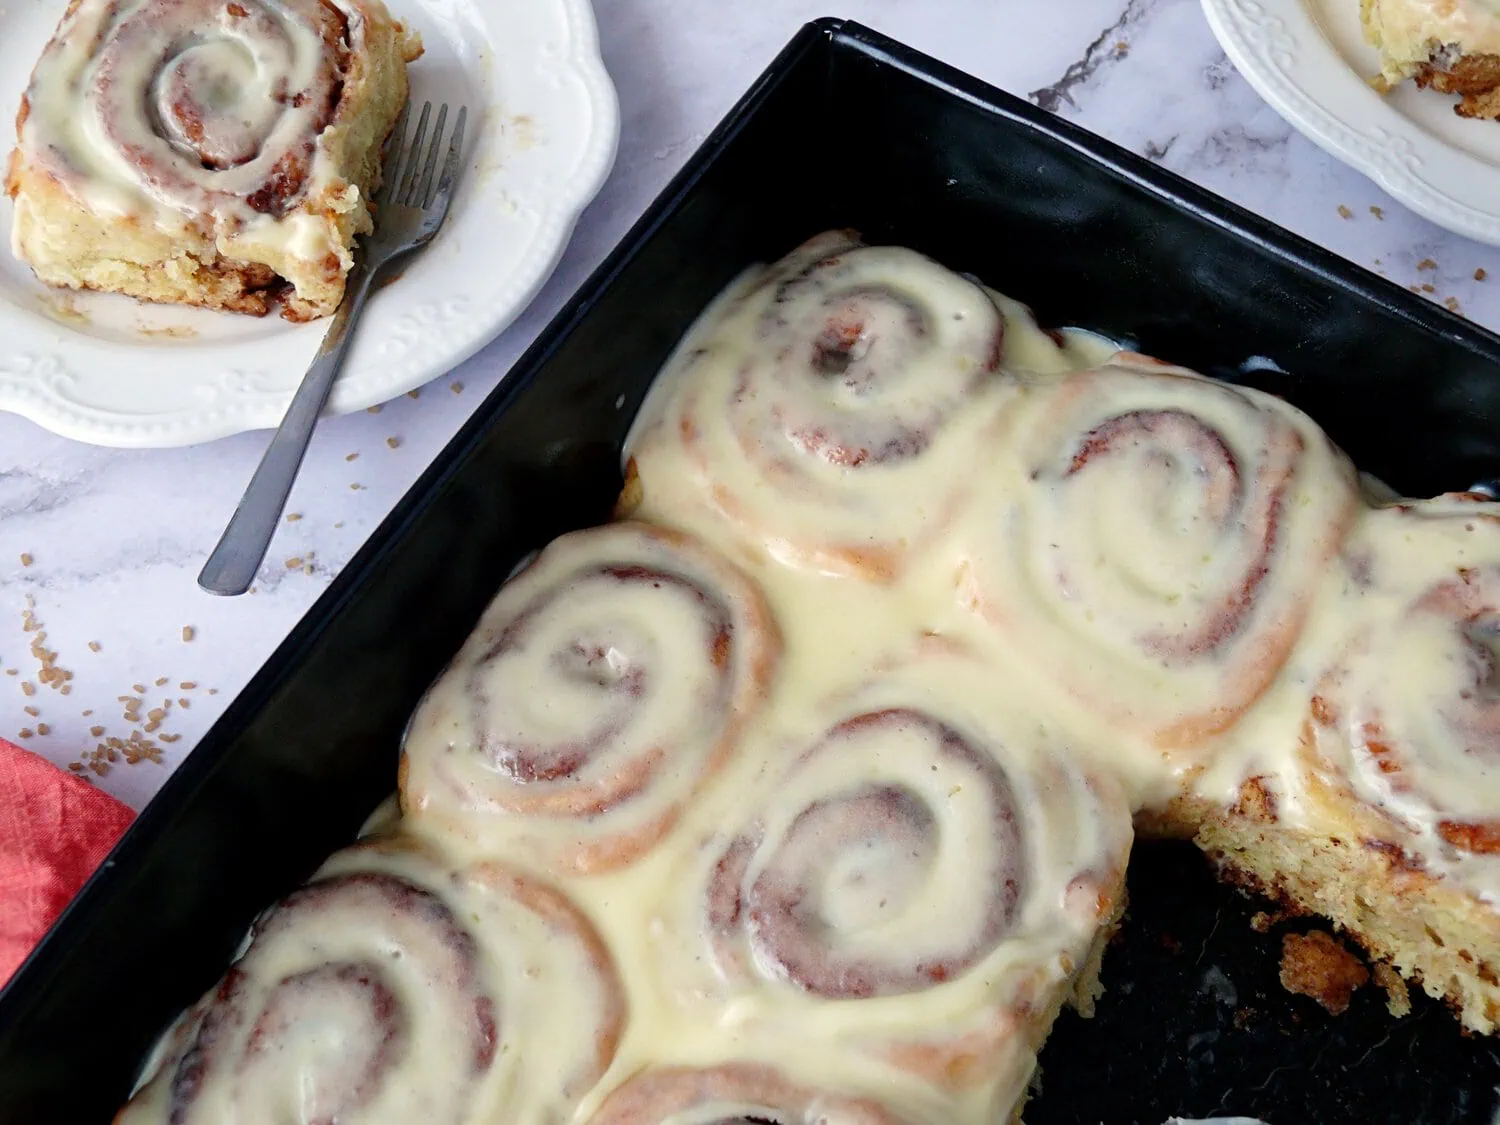
8 Tips for Fluffy, Pillowy Cinnamon Rolls
Use the correct amount of flour – If you add too much flour, you will end up with dense cinnamon rolls. For best results, measure your flour accurately and add only enough additional flour to make the dough manageable. Judge the dough by its texture. It should be soft, smooth, and slightly tacky rather than stiff.
Use warm, not scalding milk – Warm your milk to around 105°F–110°F (41°C–43°C) (think comfortable bathwater). If it’s too hot, it will kill the yeast, and if it’s cold, the dough rise will take forever. If you’re using active dry yeast, temperature is particularly important because the yeast needs to activate properly before you proceed.
Don’t overmix the dough – Knead just until smooth and elastic. Avoid overworking, or your rolls will turn out tough instead of fluffy.
Softened, not melted butter for the filling – Softened, room-temperature butter coats the dough and holds the cinnamon sugar right in place. Melted butter leaks right out during rolling, leaving you with dry rolls and a pool of burnt sugar at the bottom of the pan.
- Don’t skip the overnight chill – The long, slow ferment in the fridge does more than save you time in the morning – it breaks down starches into complex sugars, giving your rolls a much deeper, bakery-style flavor.
Bring them back to room temp before baking – Never put cold rolls straight from the fridge into a hot oven. Let them sit on the counter for 1 to 1½ hours so they can warm up and complete their final rise until light and puffy.
Tent with foil if needed – If the tops are browning too fast, loosely drape a piece of foil over the pan. This protects the tops while the centers finish baking.
Frost while warm, not hot – Spreading the cream cheese frosting while the rolls are warm allows it to melt gently into all the gooey crevices without completely melting into a runny puddle.
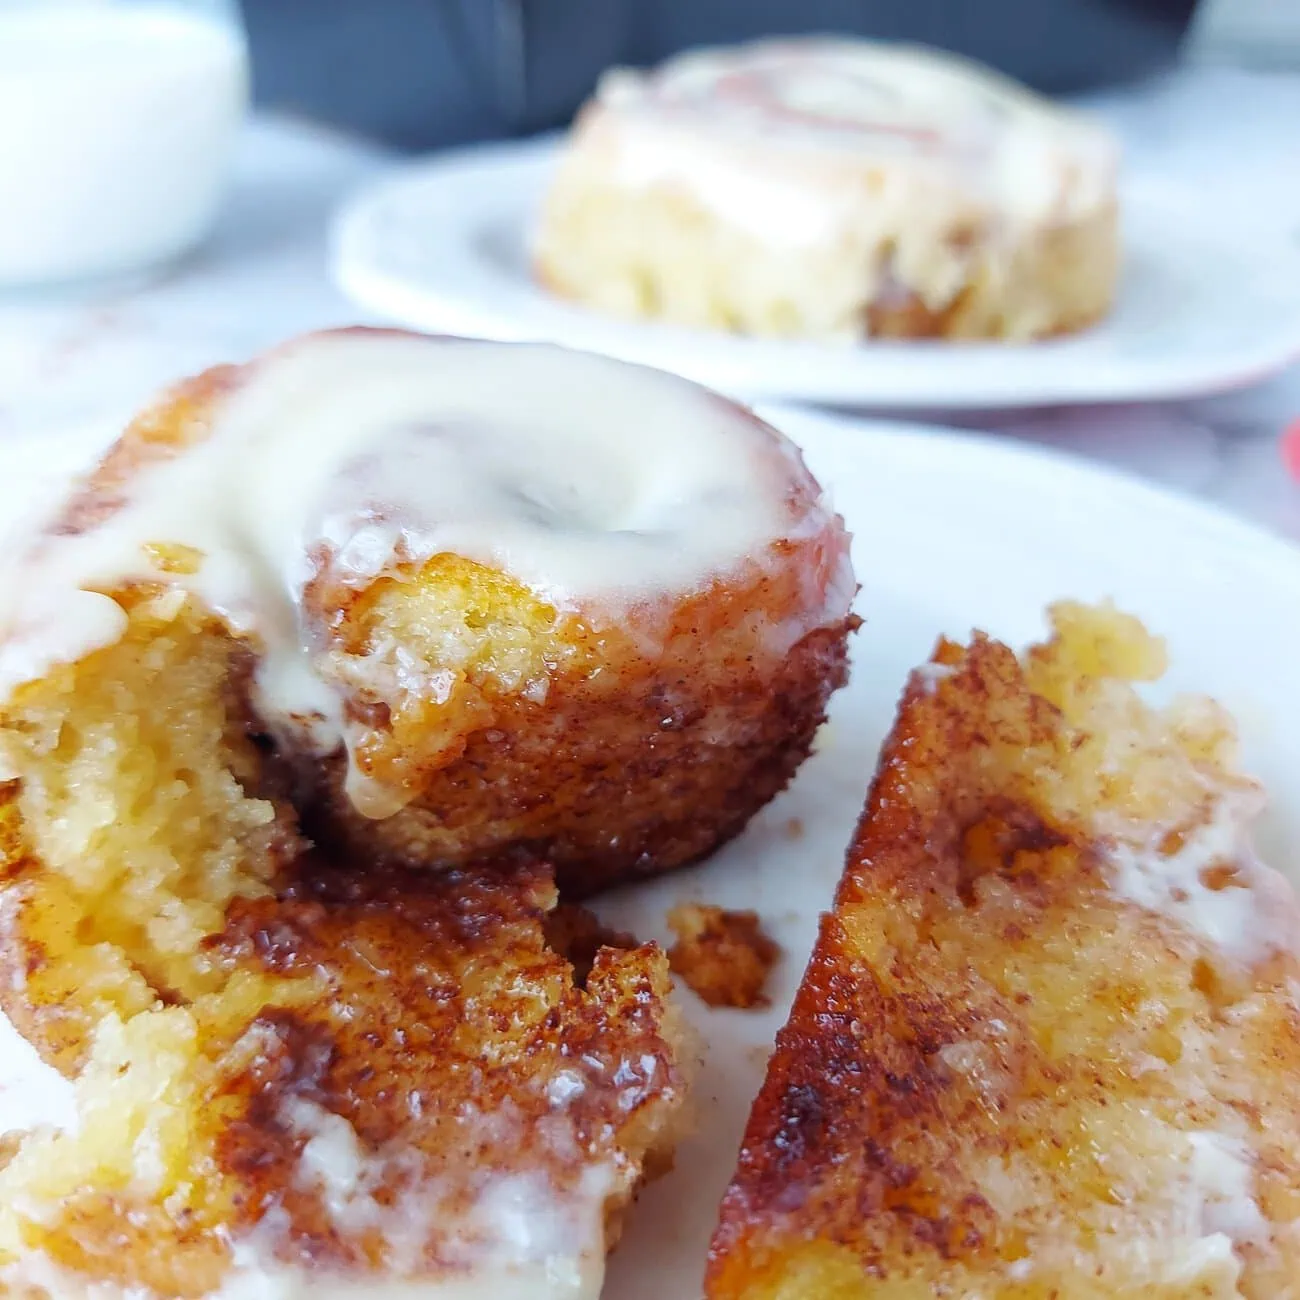
Make-Ahead, Storage, and Freezing Tips
To Make Ahead – Prepare the cinnamon rolls through the shaping stage, arrange them in the baking pan, cover tightly with plastic wrap, and refrigerate overnight. In the morning, let the rolls sit at room temperature for to 1½ to 2 hours to finish their second rise before baking. For Christmas morning, you can prepare the rolls the evening before so the kitchen work is mostly finished before you go to bed.
To Store – Keep leftover baked rolls wrapped tightly in the baking dish or in an airtight container at room temperature for up to 2 days, or in the refrigerator for up to 5 days. Because they are topped with cream cheese frosting, refrigeration is the better choice if you plan to keep them for several days.
To Reheat – Warm individual rolls in the microwave for 10 to 15 seconds to make the center gooey again, or warm the whole pan in a 300°F (150°C) oven for 8 to 10 minutes covered with foil.
To Freeze Baked Rolls – Let the rolls cool completely without frosting, wrap the pan tightly in plastic wrap and aluminum foil, and freeze for up to 2–3 months for the best quality. You can also wrap them individually or place them in a freezer-safe container with parchment paper between layers. Thaw overnight in the fridge, warm up, and frost fresh before serving.
To Freeze Unbaked Rolls – You can freeze the shaped rolls right in the pan before baking if you want to prepare a batch well in advance. Thaw them overnight in the refrigerator, then let them come to room temperature and rise until puffy before baking as directed.
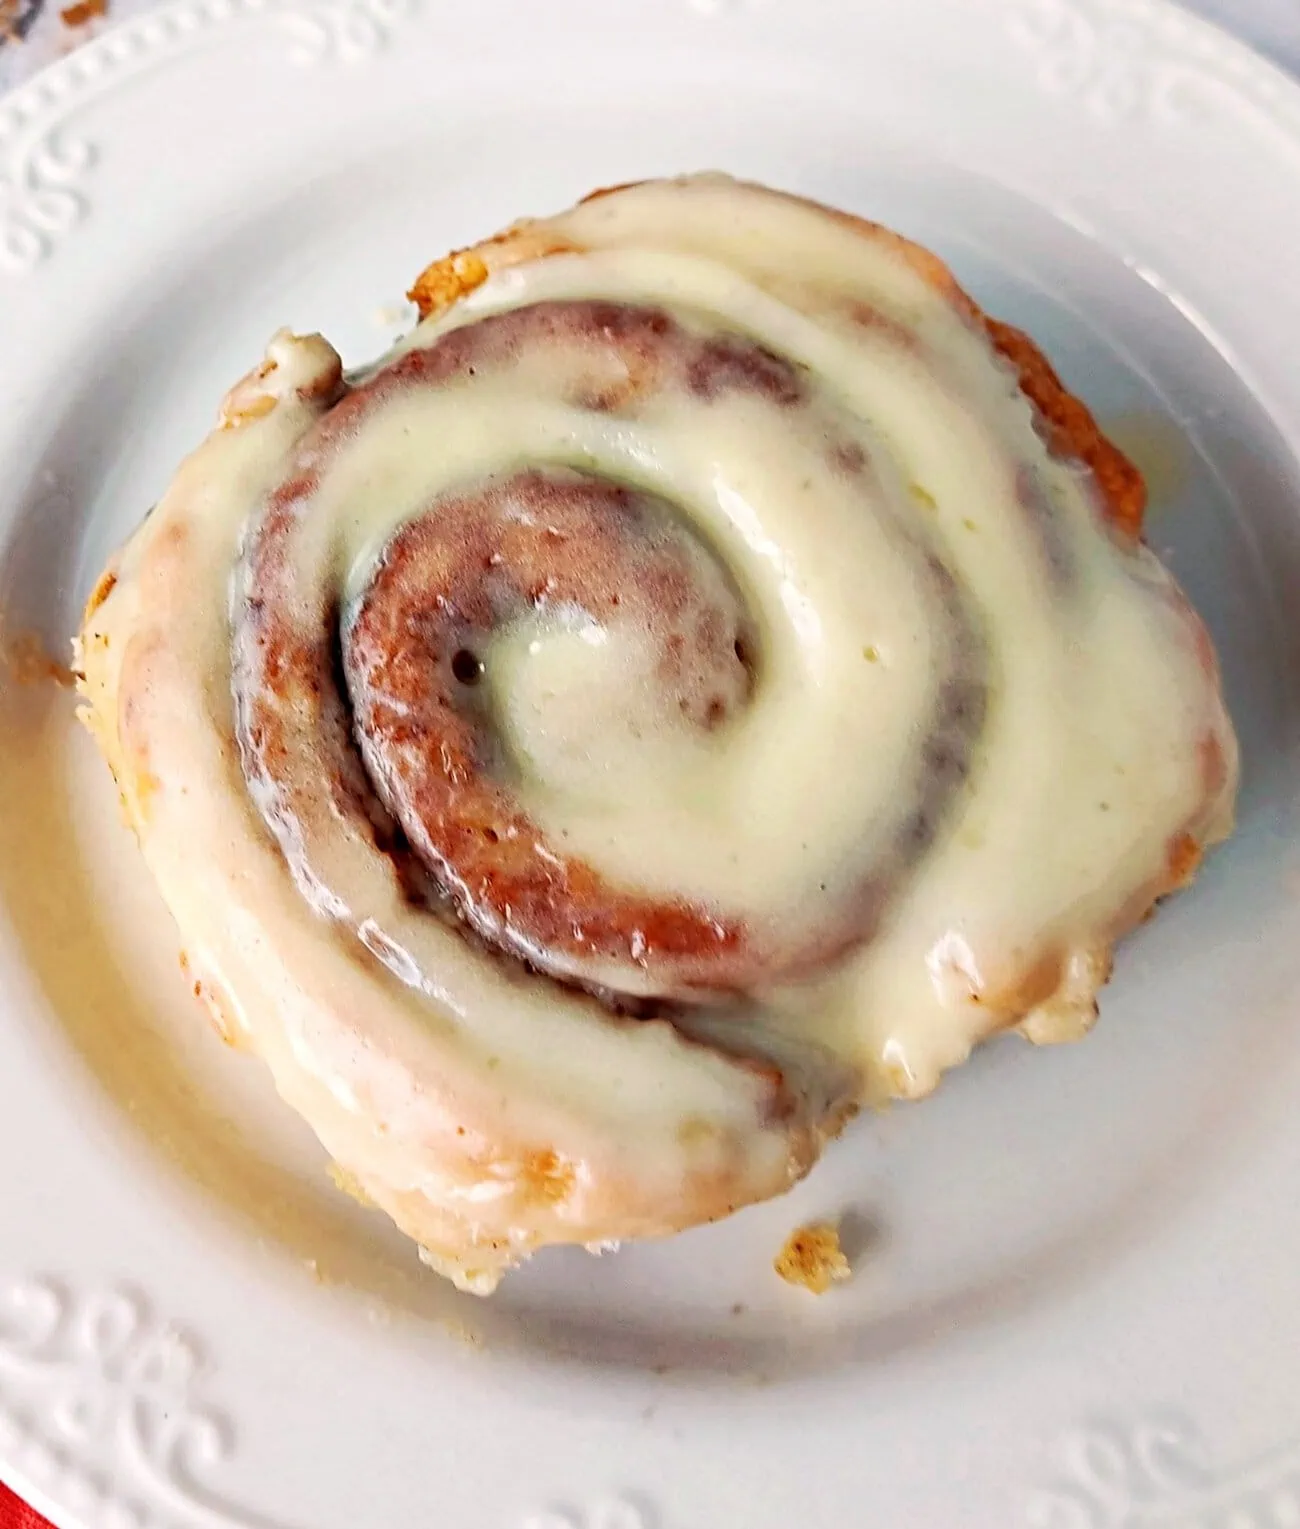
Troubleshooting Your Cinnamon Rolls
Dough not rising – Make sure your yeast is fresh, and your milk is warm (105°F–110°F / 41°C–43°C), not hot. Make sure your yeast foams slightly in the warm milk before moving forward. After taking the rolls out of the fridge, let them sit at room temperature for 1½ to 2 hours until they look puffy, then bake. If your kitchen is cool, they may need a little extra time.
Dry or tough rolls – Too much flour during kneading can make the dough heavy. Measure flour accurately (scoop and level) and avoid adding extra flour unless the dough is excessively sticky. Bake just until golden and set.
Leaking filling while baking – This happens if the butter was melted instead of softened, or if the rolls weren’t packed relatively snug together in the pan. Also, make sure to roll the dough log tightly and place the rolls seam-side down.
Doughy center – Tent the pan loosely with foil and bake for 5 to 10 minutes more. The center rolls should feel set, not wobbly or wet.
Rolls collapsed in the oven – They likely over-proofed. Bake them as soon as they look puffy after their room-temperature rest, while a gentle finger poke still springs back slowly.
Too sticky dough – The dough should feel soft and slightly tacky, not wet. Knead in extra flour just 1 tablespoon at a time, since adding too much too fast leads to dry rolls.
Runny icing – Let the rolls cool for about 10 to 15 minutes before spreading the cream cheese frosting so it stays creamy instead of turning into liquid. If your frosting feels too thin, whisk in a tablespoon of extra confectioners’ sugar at a time until thickened.
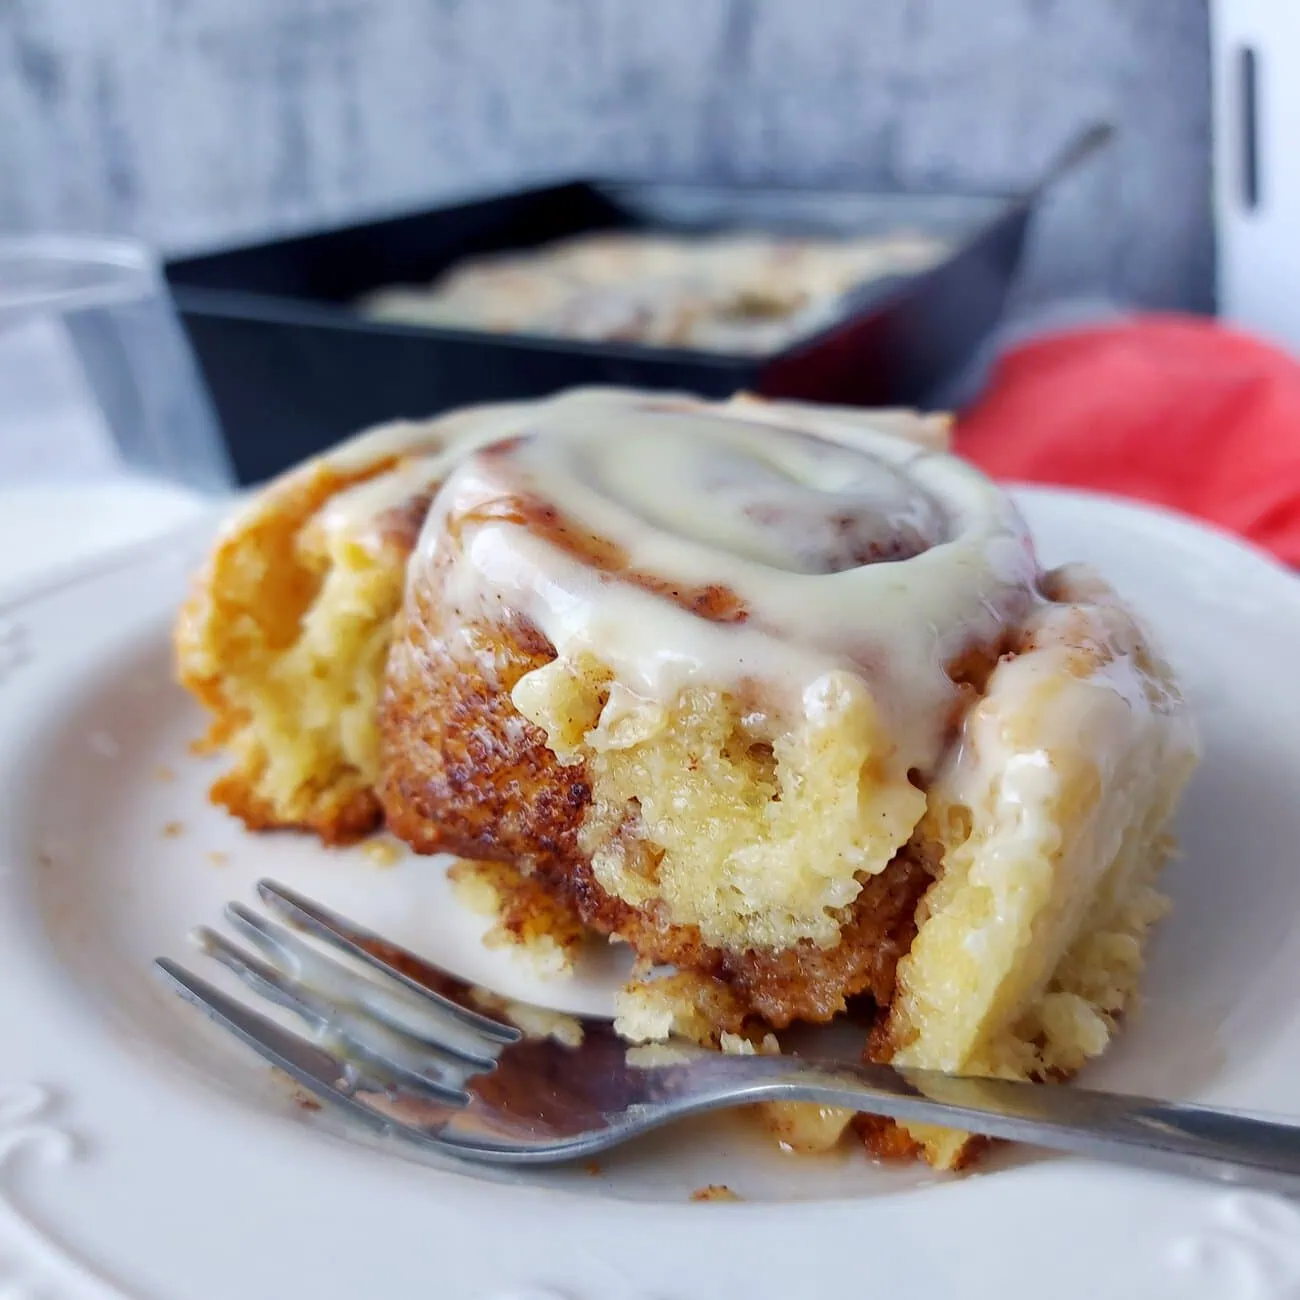
What to Serve with Overnight Cinnamon Rolls
To build the ultimate weekend or holiday brunch spread, balance the rich, sweet swirls of these rolls with fresh fruit, a tall glass of freshly squeezed orange juice, and warm, savory dishes:
Fresh Berries and Citrus – Tart raspberries, fresh strawberries, or sliced grapefruit cut through the sweet cream cheese frosting and refresh the palate between bites.
Savory Egg Dishes – Pair these warm rolls with a slice of my Quick and Healthy Breakfast Quiche Recipe with Spinach or a slice of warm Ham and Mushroom Frittata for a delicious protein boost to your morning table.
Brunch Boards & Charcuterie – If you are hosting a crowd for Christmas or Mother’s Day, incorporate these cinnamon rolls into a larger breakfast spread! Check out my guide on What to Put on a Charcuterie Board (Tips and Tricks) for easy ways to style breakfast meats, cheeses, and fresh fruits alongside your baked goods.
Crispy Bacon or Breakfast Sausage – Salty, smoky meats are the classic companion to warm cinnamon sugar.
Hot Coffee or Spiced Chai – Serve alongside a fresh pot of dark roast coffee, a hot espresso, or a warm spiced latte to complement the cinnamon.
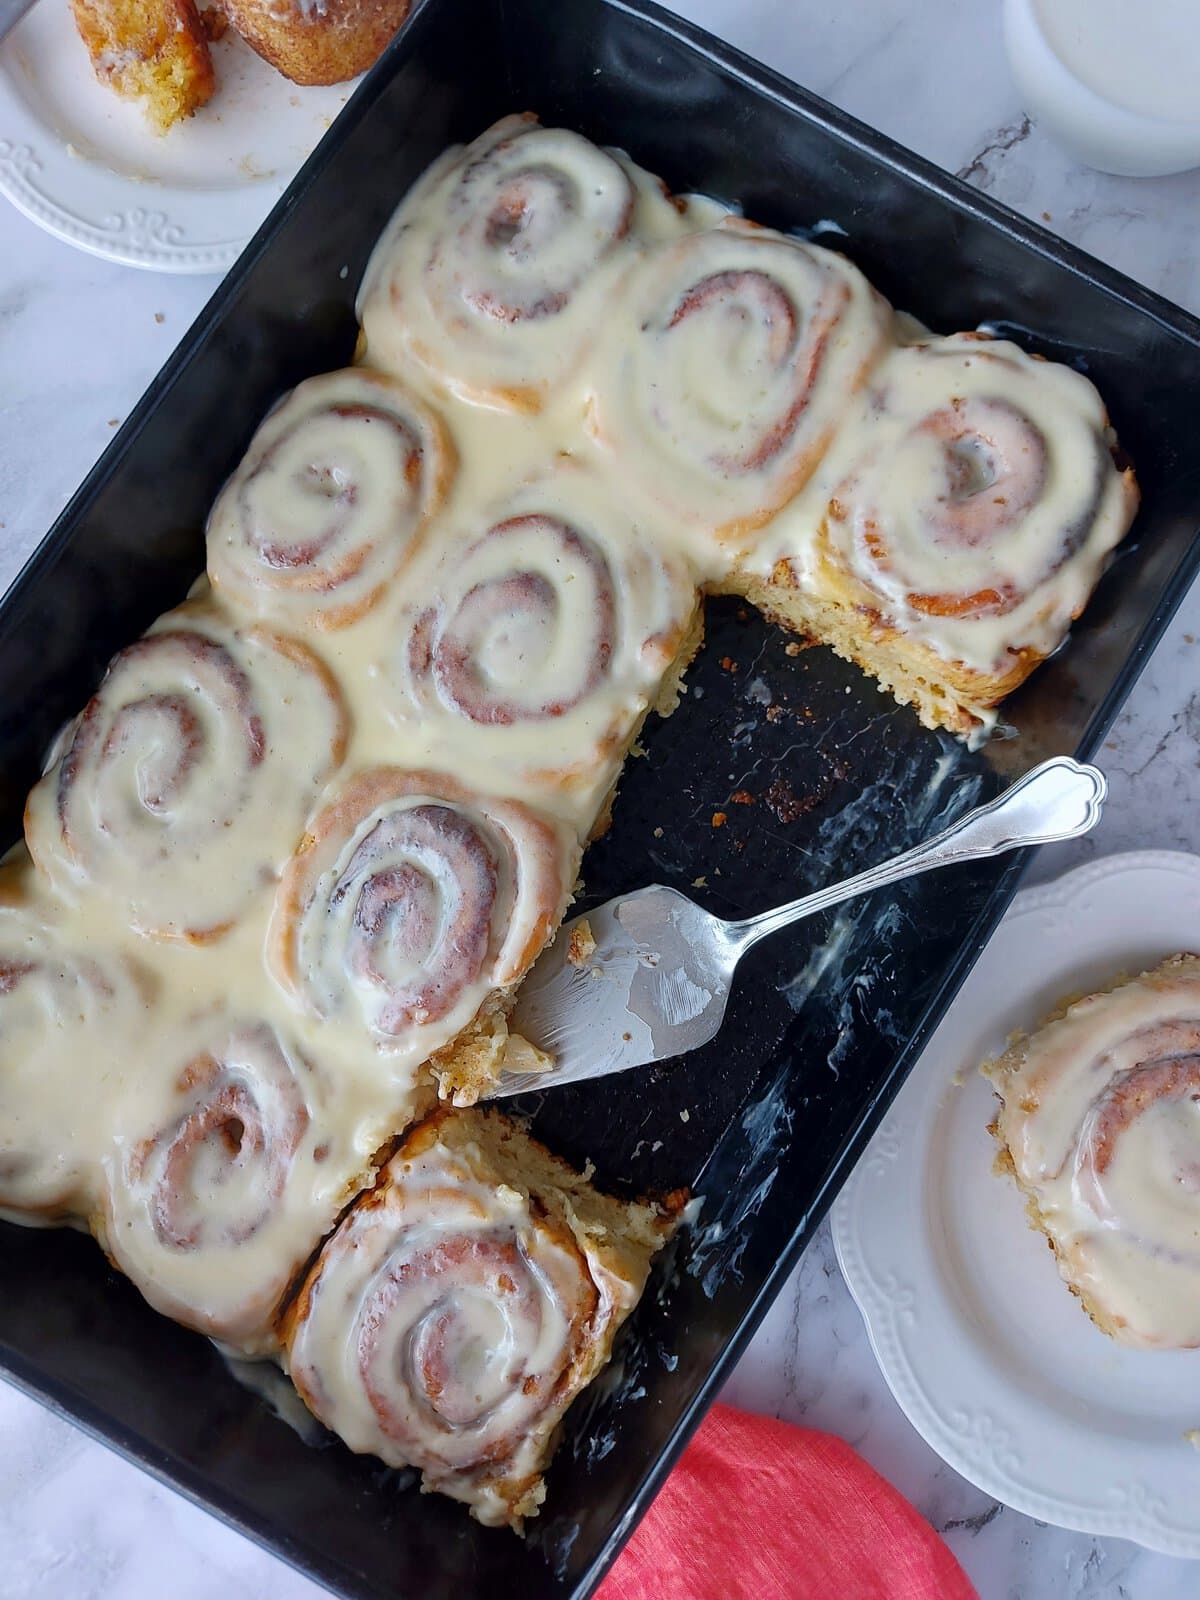
Baking Success FAQs
Is it ok to let cinnamon rolls rise overnight?
Yes! That’s exactly what makes these Easy Overnight Cinnamon Rolls convenient. Prepare and shape the rolls, place them in the baking pan, cover them with plastic wrap, and refrigerate overnight. The next morning, let them come to room temperature and complete their final rise before baking.
Can you let cinnamon rolls rise overnight on the counter?
No, you should never leave cinnamon rolls on the counter overnight. At room temperature, the dough will over-proof and collapse, resulting in flat, dense rolls with a sour taste instead of fluffy ones. Also, the dough contains perishable ingredients like milk, butter, and eggs. So leaving it out on the counter for more than two hours poses a food safety risk. To let them rise overnight safely, always place them covered in the refrigerator.
What happens if you let cinnamon rolls rise for too long?
You can leave the shaped, unbaked rolls in the refrigerator for about 8–15 hours. Leaving them longer can cause the yeast to over-proof. This leads to a sour taste or causes the rolls to collapse in the oven.
Can I bake these the same day without chilling overnight?
Absolutely! After shaping and slicing the rolls, arrange them in the pan. Cover, and let them rise in a warm spot at room temperature for about 1 hour until puffy, then bake as directed.
How do you know when the dough has risen enough?
Don’t rely entirely on a timer. During the first rise, the dough should become visibly larger and feel lighter and airier. During the morning rise, the shaped rolls should become noticeably puffy. A cool kitchen can make the overnight rise and morning rise take longer, while a warm kitchen can speed them up. The appearance and feel of the dough are better indicators than a precise number of minutes.
What if I don’t have a stand mixer?
You can easily make the cinnamon rolls by hand! Mix the dough in a large bowl with a wooden spoon until a shaggy dough forms. Then turn it out onto a floured surface and knead by hand for 10 to 12 minutes until elastic and slightly tacky.
Why didn’t my cinnamon rolls rise?
There are several possible reasons. The yeast may have been inactive, the milk may have been too hot or too cold, the kitchen may have been too cool, or the dough may simply need more time. If you’re using active dry yeast, make sure it becomes foamy when activated. With instant yeast, check that the yeast is fresh and hasn’t been sitting open for too long.
How do you keep cinnamon rolls soft and fluffy?
A soft dough, adequate dough rise, and careful baking will give you the tender, fluffy texture you’re looking for. These are the 3 things that make the biggest difference. So, aim for a soft dough by not adding excessive flour, manage the rise by giving the dough enough time to rise without overproofing , and finish by ensuring you don’t overbake the rolls.
Your dough should be soft and slightly tacky, rather than stiff, and both rises matter. Give the dough enough time to become noticeably puffy before moving on to the next step. Also watch the oven carefully, as cinnamon rolls can go from soft and tender to dry very quickly. The rolls should be lightly golden rather than deeply browned, and the centers should still look soft when you remove them from the oven.
Is it better to bake cinnamon rolls in a glass or metal pan?
Metal pans are generally better because they heat up quickly and evenly, giving you a beautiful golden crust and a soft, fluffy center. Glass pans take longer to heat up and hold onto heat much longer. They can easily cause the outer edges and bottoms of your rolls to burn or become dry before the centers are fully baked.
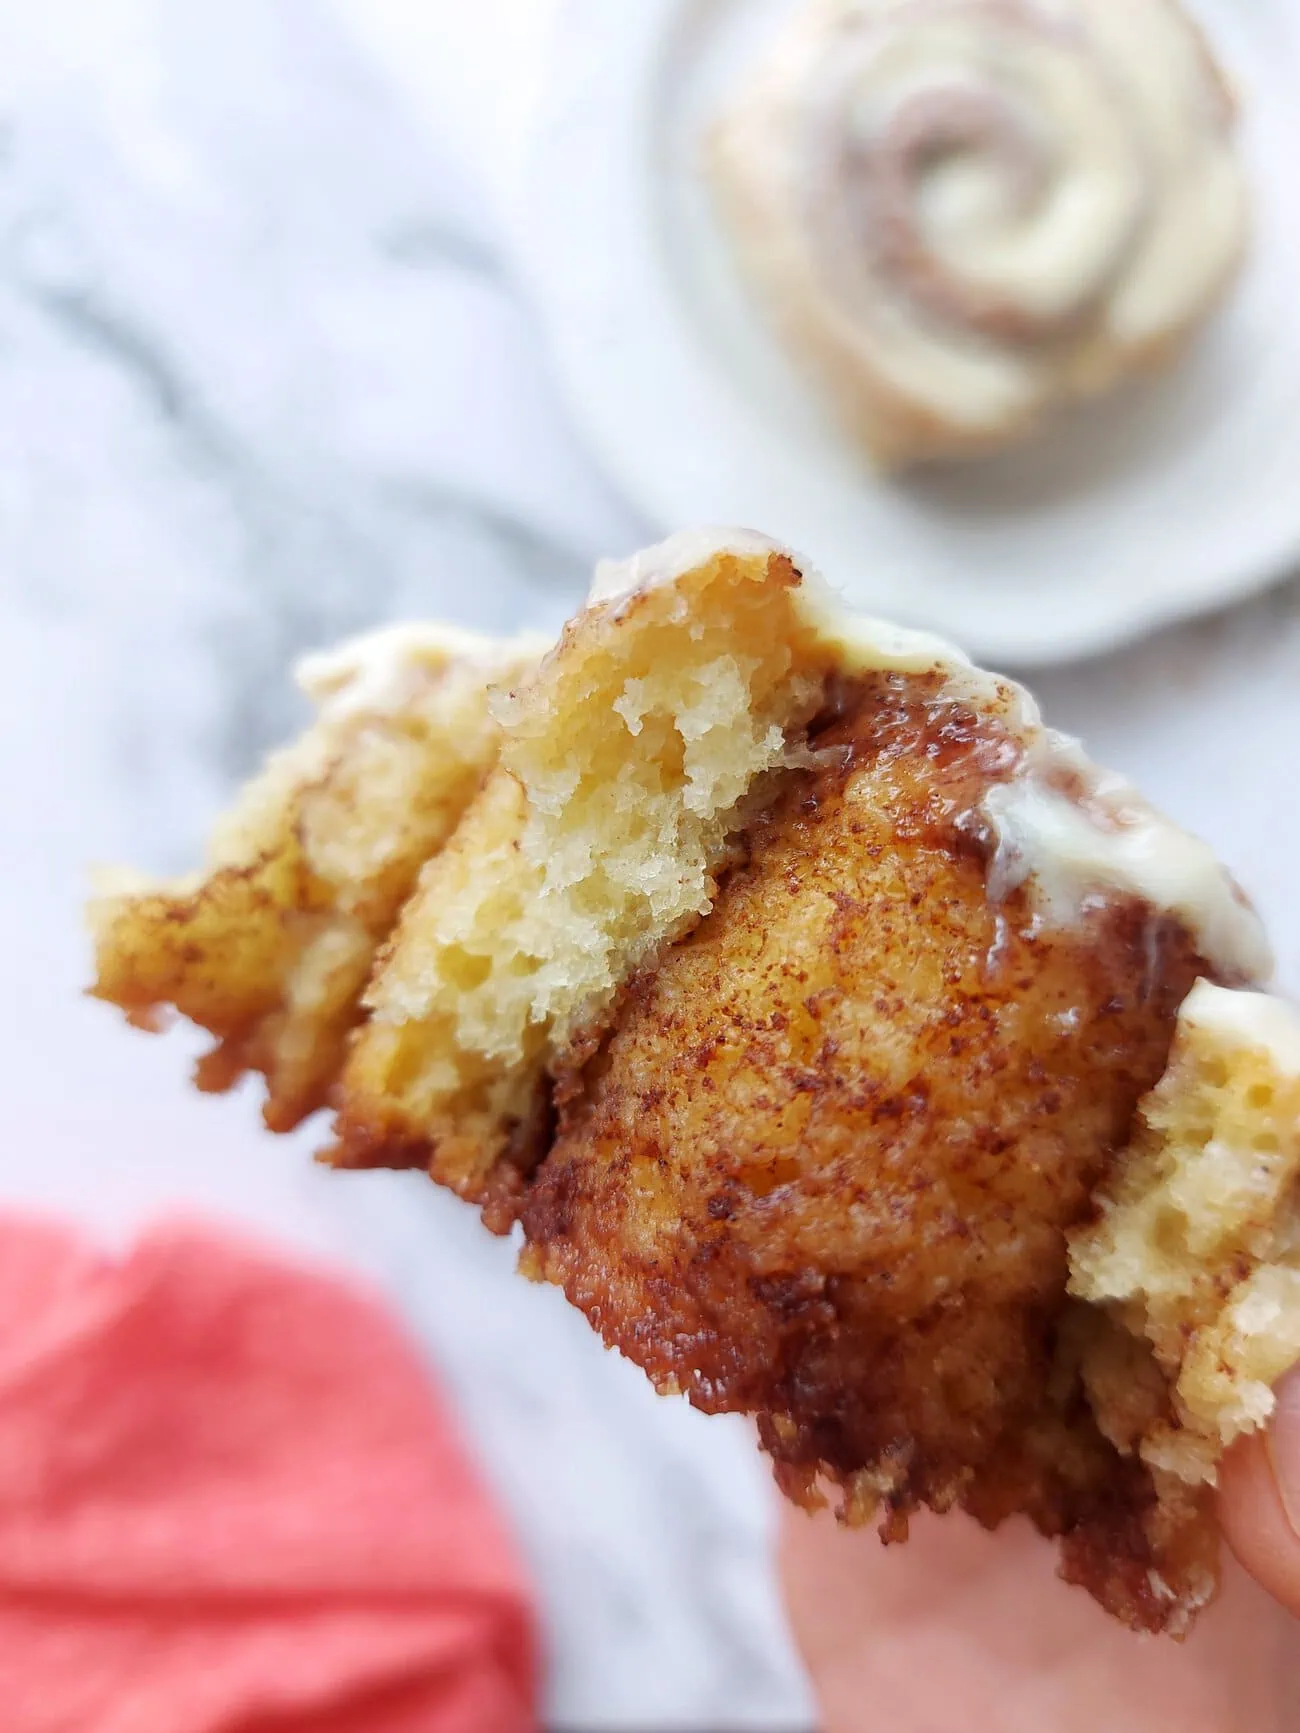
I can’t wait for you to share a warm batch of these Easy Overnight Cinnamon Rolls with your loved ones! With their soft, pillowy dough, rich brown sugar and cinnamon filling, and irresistible cream cheese frosting, they bring plenty of cozy warmth to any morning.
If you make them, leave a comment below and let me know how they turned out. Did you prep them the night before for a special holiday brunch, or bake them fresh on a slow weekend morning? I’d love to hear about it. And if you enjoyed the recipe, a review is always appreciated! Thanks so much for baking along with me!
More Holiday Dishes
And if you’re planning a holiday meal or hosting loved ones soon, here are a few more festive recipes to round out your menu, from crowd-pleasing appetizers, sides and sauces to comforting mains and desserts:
Appetizers & Entertaining
What to Put on a Charcuterie Board (Tips and Tricks)
Deviled Eggs Recipe with Bacon (Unexpected Twist!)
California Chicken Salad Crostini
Homemade Garlic Aioli Sauce Recipe (3 Ingredients!)
Salads & Sides
Apple Walnut Blue Cheese Salad (Quick and Easy)
Roasted Asparagus with Lemon (Ridiculously Easy)
Easy Cheesy Mashed Potatoes Recipe (Rich and Creamy)
Mom’s Creamy Potato Salad Recipe – Rich and Savory
Golden Roast Potatoes with Rosemary and Garlic
Easy Homemade Cranberry Sauce with Orange Juice
Steakhouse Blue Cheese Dressing Recipe
Main Dishes
Cranberry Apple Stuffed Pork Loin (Festive & Refined)
Greek Slow Roasted Leg of Lamb (Fall Off the Bone!)
Easy Ricotta Stuffed Chicken Breast with Spinach
Brunch & Desserts
Quick and Healthy Breakfast Quiche Recipe with Spinach
No Bake Tiramisu Cheesecake People Go Crazy For!
Easy Overnight Cinnamon Rolls (Fluffy & Pillowy)
Ingredients
DOUGH
- 4 cups flour
- 1 cup + 2TBSP warm milk
- 2 packets (2 ½ TBSP) active yeast (or instant yeast)
- ⅓ cup granulated sugar
- 2 eggs (room temperature)
- ½ cup (115 g) softened butter (room temperature)
- 1 tsp salt
CINNAMON FILLING
- 1 cup (133 g) brown sugar
- 2 TBSP ground cinnamon
- ½ cup softened butter (room temperature)
CREAM CHEESE FROSTING
- 8 oz (225 g) softened cream cheese (room temperature)
- 3 TBSP (42 g) softened salted butter (room temperature)
- 1 TBSP milk
- ½ cup powdered sugar
- 1 tsp vanilla essence
Instructions
Make the Dough
- Activate the yeast: Whisk the warm milk, active dry yeast, and a pinch of the granulated sugar together in the bowl of a stand mixer. Let it sit for 5 to 10 minutes until frothy and puffy. (If using instant yeast, you can skip the waiting time and proceed directly to the next step.)
- Mix and knead: Whisk in the eggs, softened butter, salt, and remaining granulated sugar until combined, then add the flour. Attach the dough hook and knead on low-medium speed until the dough pulls away from the sides of the bowl and feels smooth and elastic (add 1 tablespoon of flour at a time only if too sticky).
- First rise: Shape the dough into a ball, place it in a lightly oiled bowl, cover, and let rise in a warm spot for 1 to 1.5 hours, or until doubled in size.
Fill, Shape, and Chill Overnight
- Roll out the dough: Punch down the risen dough and turn it out onto a lightly floured surface. Roll it into a 12×18-inch (30×45 cm) rectangle.
- Add the filling: Spread the softened butter evenly over the dough, leaving a small border around the edges. Mix the brown sugar and ground cinnamon together, sprinkle evenly over the butter, and gently press it down with your hands so it adheres.
- Roll and slice: Starting from the long side closest to you, roll the dough tightly into a log and pinch the seam to seal. Slice into 12 equal rolls, about 1.5 inches (3.8 cm) thick, using unflavored dental floss (slide the floss under the log, cross the ends over the top, and pull firmly in opposite directions).
- Overnight chill: Arrange the rolls cut-side down in a greased 9×13-inch (23×33 cm) baking dish. Cover tightly with plastic wrap and refrigerate for 8 to 15 hours.
Rise, Bake, and Frost
- Final morning rise: The next morning, remove the pan from the fridge, take off the plastic wrap, and let the rolls rise at room temperature for 1.5 to 2 hours until puffy and filling the pan.
- Bake: Preheat the oven to 350°F (175°C). Bake the rolls for 25 to 30 minutes until the tops and edges are light golden brown. Remove from the oven and let cool in the pan for 10 to 15 minutes.
- Make the frosting and serve: While the rolls bake, beat the softened cream cheese and softened salted butter together until smooth and creamy. Add the powdered sugar, milk, and vanilla extract, and beat until fluffy. Spread generously over the warm rolls and serve immediately.

Leave a Reply